Sunday, February 27, 2011

No Need For A Seasoned Professional Here

The challenge of a week ago with the back two feet of the trailer has been solved. I posted last week that we had a slight rise of the last two feet of the right wall. Even though the wall height from the floor was the same all along the wall. After crawling underneath the trailer and doing some poking around it looks like the floor sandwich for whatever reason was not pulled down tight to trailer. The screws we used to fasten the trailer to the floor supports were holding the floor off the trailer. The bolts pulled the floor tight but did not move the wall as it is screwed and glued to the framing. You can clearly see the gap on the 2-2x4's. Since we are putting sheathing on the inside of the wall to give us a full manufactured wall this is not an issue structurally. I will say this has caused some angst with my framing partner even though I tried to blame myself for the problem. Even taking the screws out of the plywood did help in trying to get the wall down. Our solution at this point was to trim the top plate. We are NOW perfect around the entire top perimeter by a 1/16 of inch. It was time to move on to the next task.
Pulling the floor tight did not move the wall and left a gap on the bottom
In order to correct for the rise we trimmed the top plate
So for next steps we put all the bolts in around the base of the framing tying the walls to the trailer. I will have 18 bolts total and probably a hundred plus screws into bolted trailer cross braces. I think we are secured to the trailer.  We cleaned out all the Window openings and tested out fitting a window. Pretty cool to see that in place.

I moved the Shower in to the cottage as we had a plumber come out and give me an estimate to hook up all the propane. While I feel I can do all the water plumbing getting some good advice is always beneficial. He was great and I will hire him to do the Propane as I would like that done with an eye to quality. Not really interested for things to go "bang" in the night. For that matter I don't like the smell of rotten eggs either so making sure it is installed professionally is a good decision. He thinks he can do it all for $300 plus materials. That is a good investment in my mind. Here is what the Propane Heater looks like.


So with it soft installed we moved to the shower. It fit in through the window and it now has a home in the corner. We will box it in next weekend and put down a foundation pad for it. I am going to plumb it on the right side so no pipes will be behind a perimeter wall.
Next we started looking at the loft mounts. Stet put in braces a long the wall where we will put in Stimson stud braces and run 2x4's across the span every 16 inches. We are going to use 3/4 plywood for the loft deck, screwed and glued to the 2x4's. That will help structurally and should look nice as we are using a fancy grade plywood. This should have a nice appearance when I am entertaining up in my loft. You see that we are putting these in far lower then the top of the wall. We are planning on having 6 foot 5 inches of head room under the loft supports. This adds 10 inches of headroom to the loft and gives 10 inches of wall before the ceiling pitch starts.

So for next weekend we are looking at boxing in the shower, cutting in the drain hole. Mounting the loft braces and putting in the 2x4's. I will also start on the wiring. Exciting!

Monday, February 21, 2011

Sheathing and prep for next steps

We spent a good portion of Saturday getting the Cottage square. We ran string down the wall and down the top plate to see where we needed to adjust. The first wall we built, which if looking from the outside would be on the left was a little challenged. We noticed a lift on the back two fee of wall and felt the need to take the trailer down off the jacks and see if that would solve the issue. It did not, Hmmm. After some fidgeting with the wall it trued up pretty well but the lift in the back could not be corrected. Stet suggested just using wavy trim. That did not really fire me up.

Here are three shots of the string lines we used. One looks a little off due to the angle of the camera. The wall was really pretty straight so it was braced.


Once we got both walls trued and braced, we commenced with screwing a gluing. The weather was a bit brisk and we found the glue was not real sticky, we had to run a heater to get it up in temperature. I think it was in the high 20's on Saturday till about noon. It is hard to work in fuzzy gloves.
We have both long sides done, and will finish the ends next weekend. I will be drilling the holes for the bolts that I started right before I had to boogie back home to get ready for work. Feel good about where we are at, we have a lot of options on what exactly we are going to do next and in what order. I expect we are four weekends away from pulling the trailer out to put on the roof. I need a good weekend and some extra hands as I want to put the entire roof project into one weekend if I can. Rain can ruin this parade so we have to plan carefully and stage as much as possible so that all we have to do is assemble it. Here are some shots of the trailer as it sits before I left.
What a bolt hole looks like, wow.


It case anyone was wondering we ran the plywood horizontally, with ample construction adhesive and screws at 8 inches around the perimeter and 12 inches in the field. I am using 1 3/4 inch screws on the 1/2 CDX. On this last picture it is hard to tell but we have two wall braces and two braces across the top plate. I was surprised at how square the end walls were once we got the side walls true.

I am now at weekend number 6, time spent is generally 26 hours man hours a weekend so when you multiple that out we have put in around 156 man hours to this point. We only work weekends and there are a couple of trips to the lumber store in the total. I do try to buy stuff during the week and bring it up on weekends if the weather allows. We guesstimated around 400 to 500 man hours. What ever the total ends up being, if I build a second one, it will take 100 hours less. While we are not inventing the wheel here, we definitely don't have a road map and just forge along until one of us calls stop and then we evaluate whether we are making the right decisions. My type of project, I am enjoying the journey!

Tuesday, February 15, 2011

A Valuable Tool You Can Make

Now that the wall framing is done the real job begins. That is truing up the four walls so that we can put sheathing on. While I will post more on this after this weekends events, one of the tools we are using is our self built wall square. You need to make this big enough to put on a wall, we used scraps of plywood and two chunks of 2x4. Our metal square was used multiple times during the building process checking both inside and outside, before screws and after each screw. Simple to build and easy to use.

Sunday, February 13, 2011

Mobile Cottage Starting To Take Shape

It is pretty clear what is missing when you when you are looking for four walls. I had some decisions to make around left side windows, what to do with a fancy window I bought to go in next to the door that had become a casualty of not enough space for both the door and the window. Stet shows it is not going to fit at 31.5 inches wide as he stands in front of the door opening.

I figured I could go without a window, not so much the door. I did not want to have different windows across from each other so if I was going to use the fancy window it was going down to the other end of the house. I decided I was going to run with fewer but the larger of the windows. We framed them in and here is what the side of the trailers looks like with the wall up.

The next decision was, did I really want to use the fancy window as it is a bit too large to put on the tongue end of the trailer if I wanted it centered. The shower comes out 32 inches from the wall. This put a bind on the plans, I could use the smaller 24 inch wide window but I had paid dearly for this fancy window and I really did not want to wait to put in the next trailer project (who knows when that will happen or if). Therefore, I decided that we would off center it and it would encroach in the head but then I can do my business and look out a really nice window. We put a chair where my Biolet composting toilet is going to live and checked out the view. Nice, really nice.


Wow, great weekend. I was a bit tired and need a proud rest!
 Now it is time to square up the house and sheath it. We are going to try to bring in an expert to talk through the next steps and help us get this wiggley little building square.

Tuesday, February 8, 2011

Tool Report

I have enough water under the bridge to start to talk about some of the tools that are really having an impact on our work progress. I would like to focus on two items that I am really big fans of. First I need to acknowledge one of the suggestion of the Mobile Cottage Blog by Jeff and Arlene. He suggested that his best results came from Star drive screws. I can say emphatically that that is an awesome suggestion. While I am using nails on most of the framing, all plywood attachment is with screws, and a lot of the large gap fastening and angled 2x4 fastening has all been done with screws.
  

I was not able to find this product at any of the big box stores but it readily available at smaller hardware stores, I have found them at True Value branded stores. Do It Best Stores sell a different brand that I have not tried but the star head is so much better the Phillips head I would go to great lengths to get type of screw head. So this product goes into highly recommend bucket.

The other side of this equation is getting the screw into the wood. The difference between a 12volt drill and an 18volt drill is significant. I would say you get a 50% increase in productivity by going with a good 18volt drill. We have several on site, but one has become the "favorite" and there is a little jockeying to make sure it is close by when a significant fastening project is getting started. This drill is light to handle, can fit in tight spaces and is a major work horse. While I have not tried it, I bet it would screw right through a brick, actually a hundred bricks. I got it with two batteries but you could get away with one for a days work. If under heavy use you may want to throw it on the charger at lunch. At our work level I have not had that need. The funny thing about this unit is that it does not let on the battery is getting low. It works hard and then it just stops and you get nothing, time to change batteries. I love this thing. So another tool in the highly recommend bucket.

Monday, February 7, 2011

Now This Is What I Am Talking About

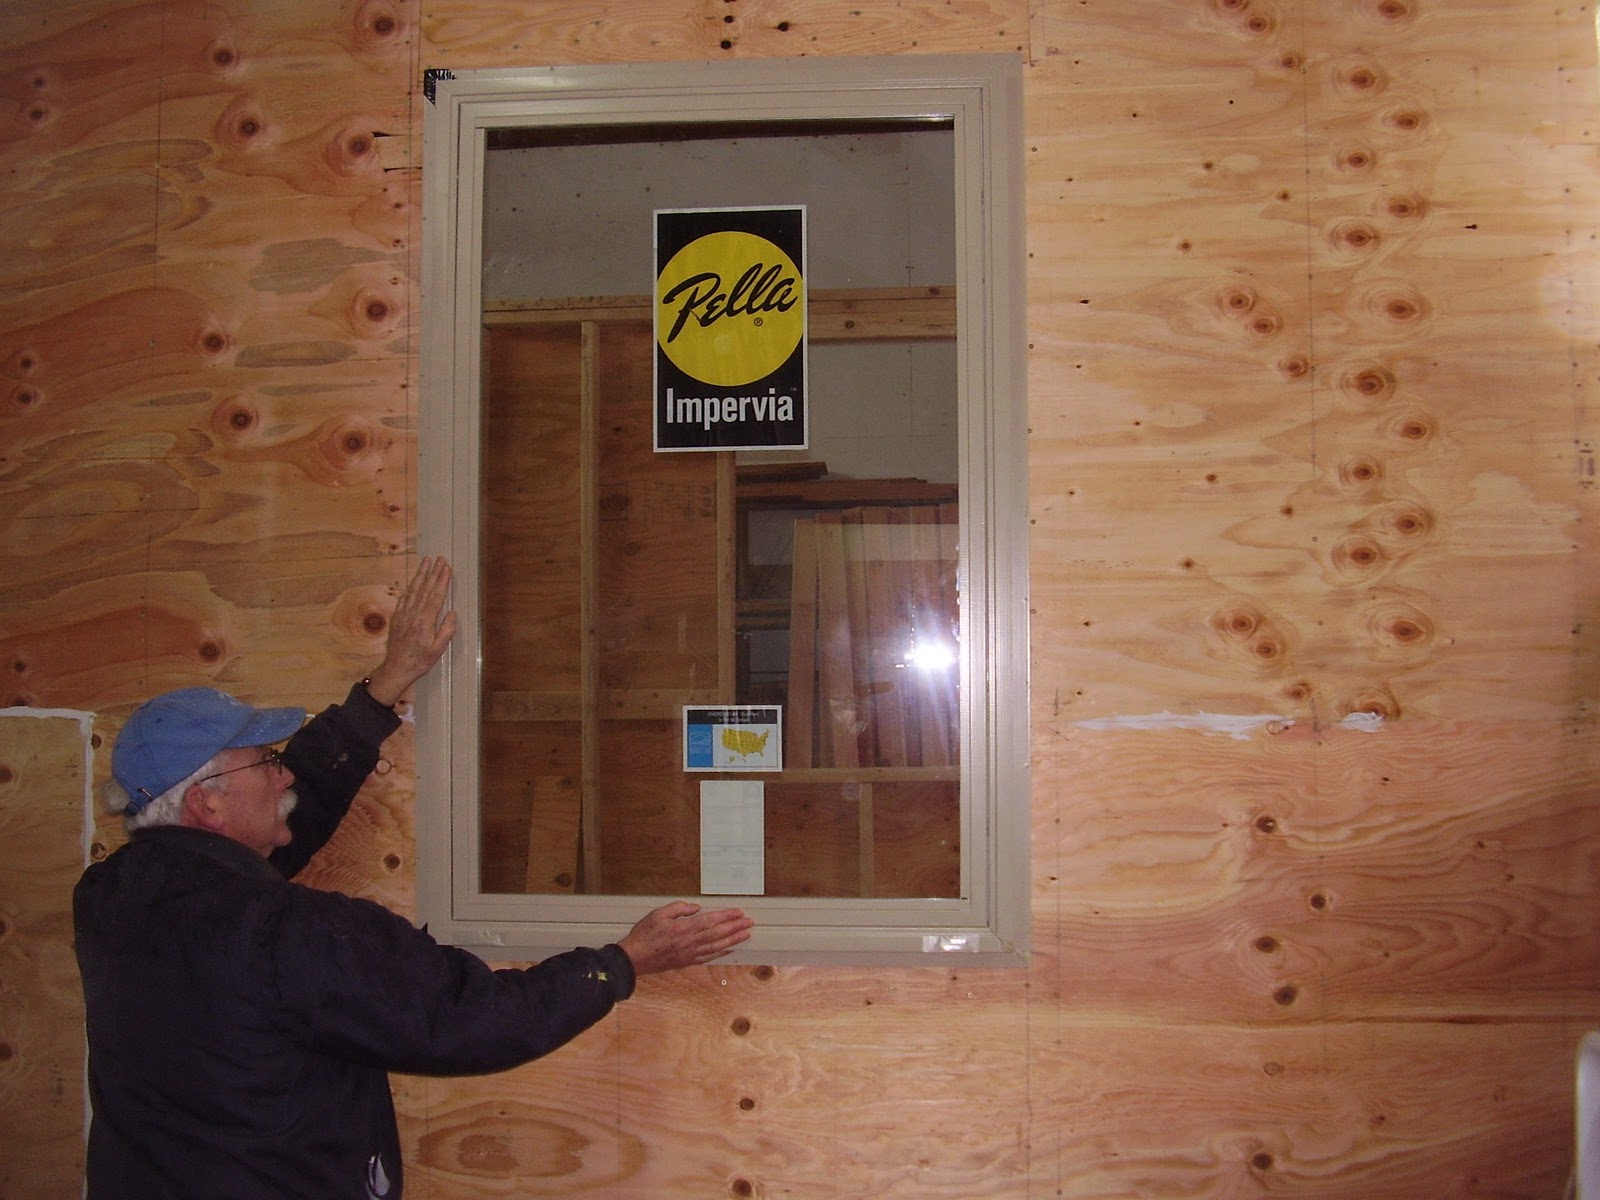
Well this weekend was full of planning, guesstimating distances and holding up windows and saying what about this. Since we are building without any plans we get to create as we go. This allows for some fluid decision making and then driving in a stake and moving to the next part of the project. What was accomplished this weekend was decisions around four of the windows. You might ask why I did not buy windows that fit my plans. First is because I have no plans, secondly it is because when I started the design and aquistion process of my materials I came across an ad on Craigslist, 6 New Pella Impervia windows $150 each, buy all 6 for $600 bucks. I soon became the proud owner of 6 new windows that retail for over $2000, Yippee. I just figured I would design and build the my mini cottage around the windows. One of the first things people always used to say to me was it is going to be dark in there, you need windows, and skylights, and a convertable take off roof. You get the idea. Well I have 6 really nice windows, actually 7 and a Sky Light. Part of the challenge with windows is it compromises the structural integrity of the structure. While I will address this in another post, the way we are constructing the walls should mitigate the big holes we are putting the walls. I am pretty sure the Sky Light will end up on Craigslist. Three of the windows are 2x4 feet and I wanted one in the Kitchen. The big issue was in the kitchen the counter would not fit the single hung window vertically. So it is now going to go horizontal. Problem solved.

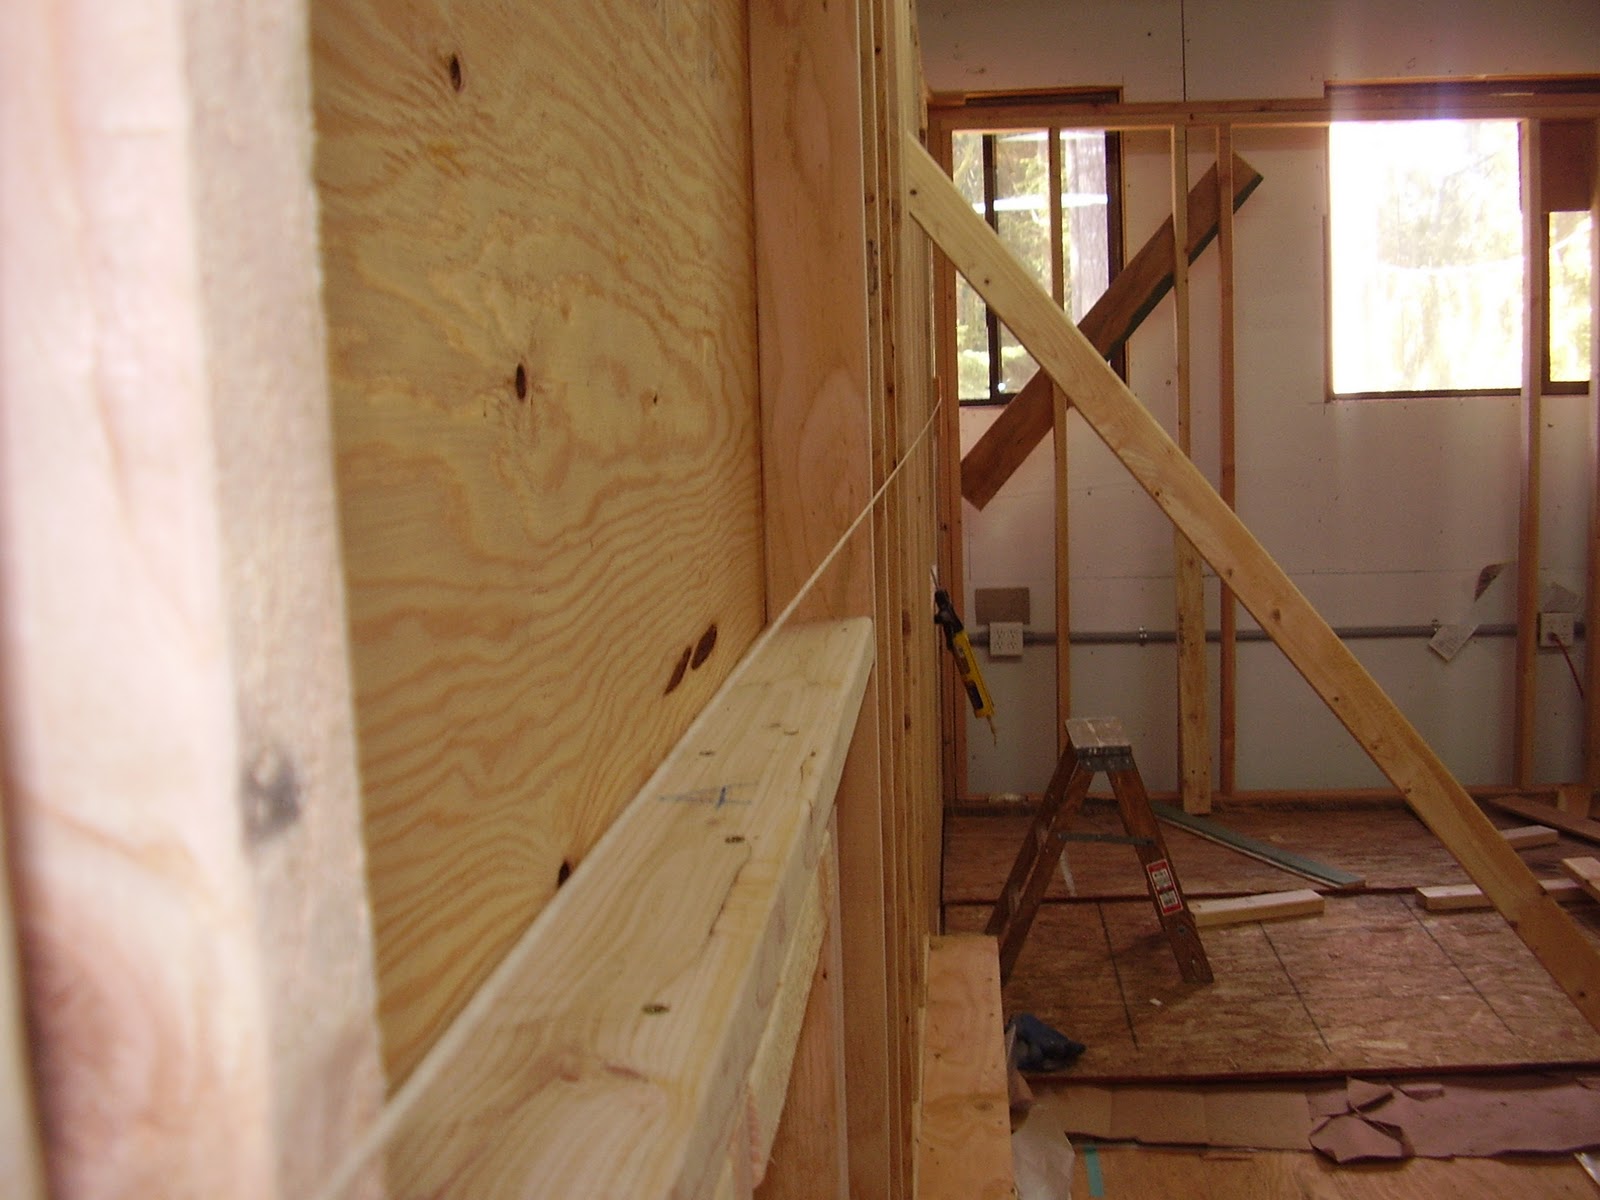
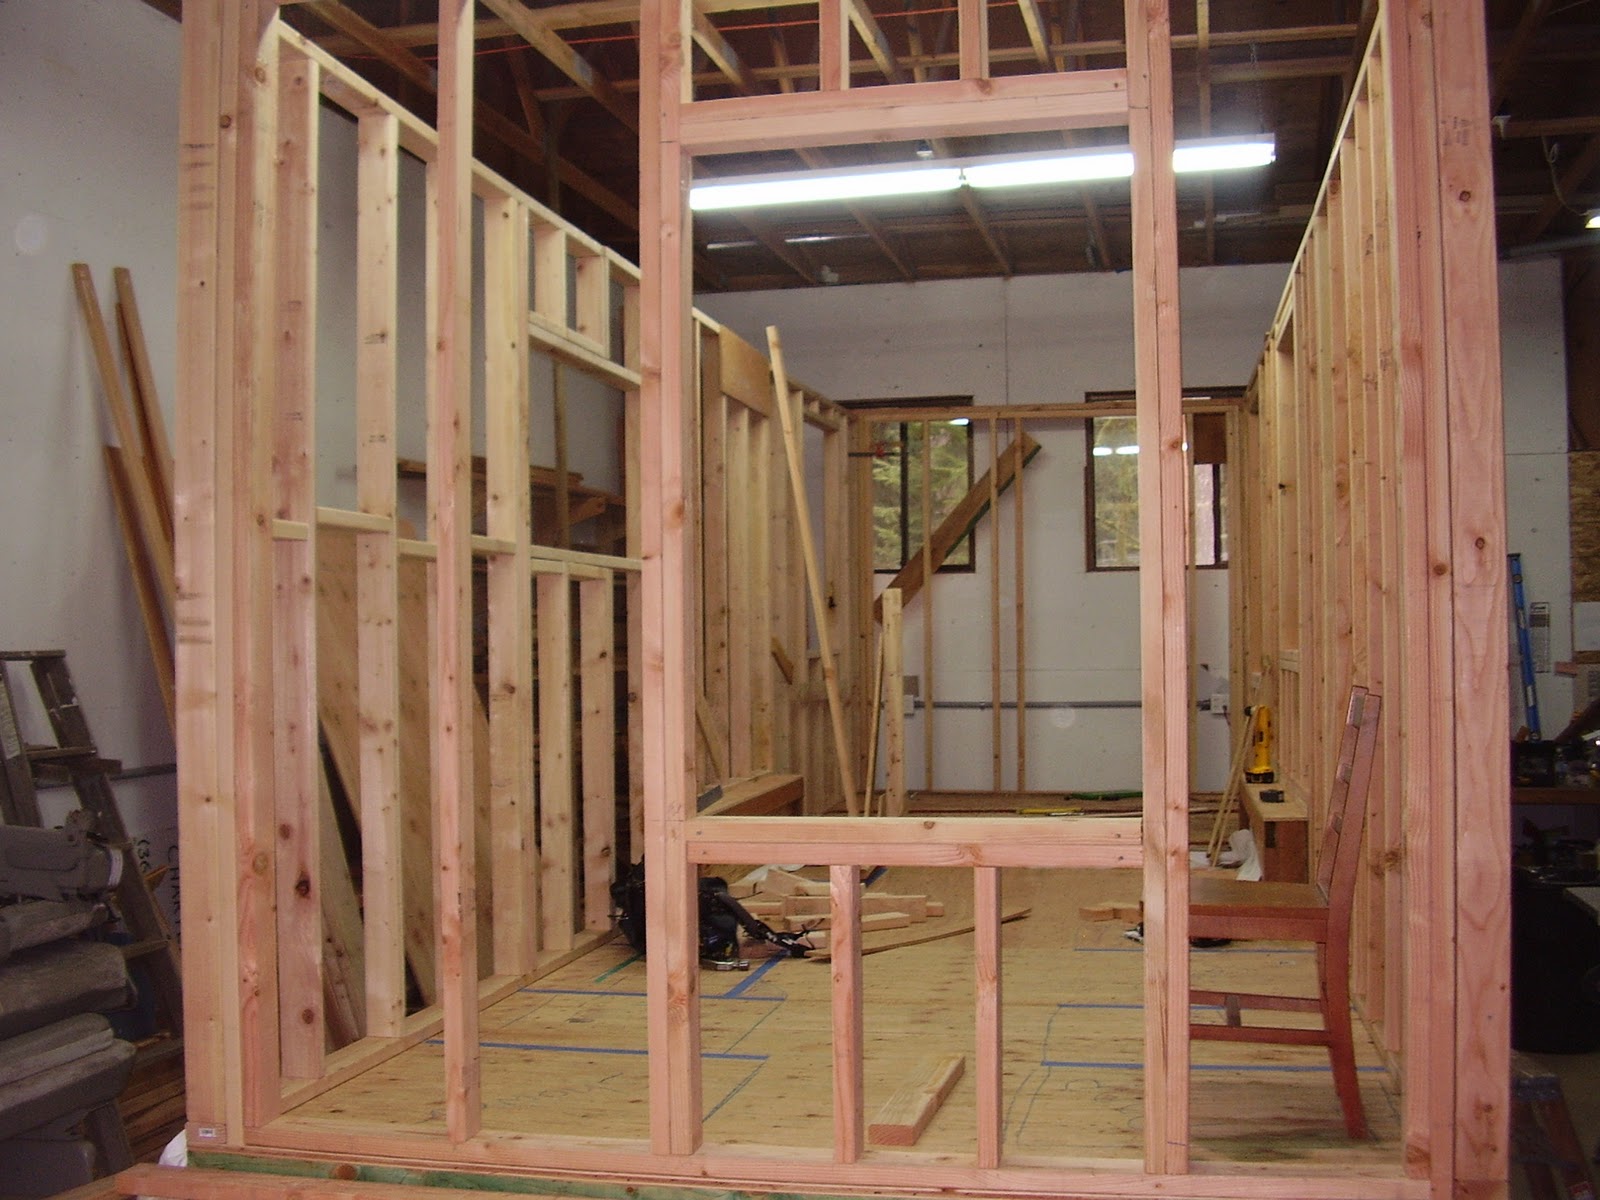
Window planning at this point put a 2x4 window at the tongue end of the trailer between the toilet and the shower. On the left side of the trailer will be kitchen and horizontal above the sink and down the counter is 2x4 window #2, at the end of the kitchen counter with 3x4 window #3 and with 2 feet of wall separating them is 3x4 window #4. Both of these two windows are also single hung.
  
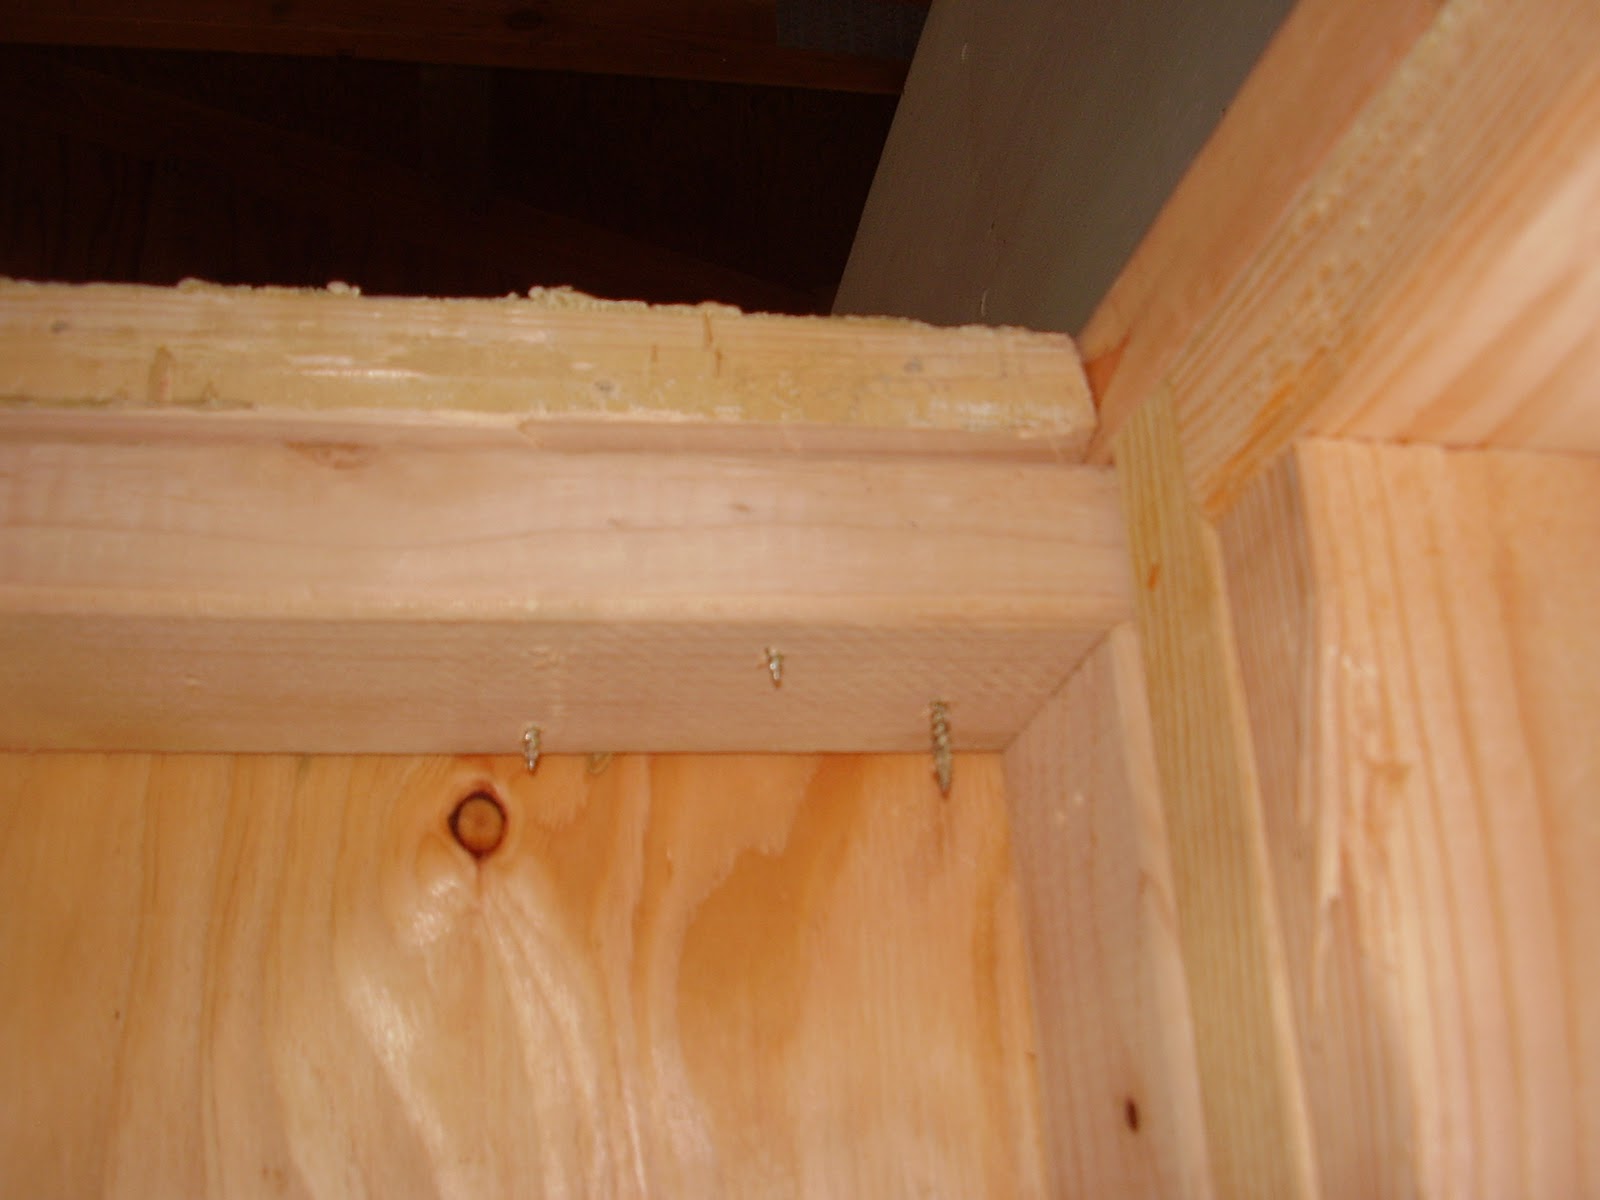
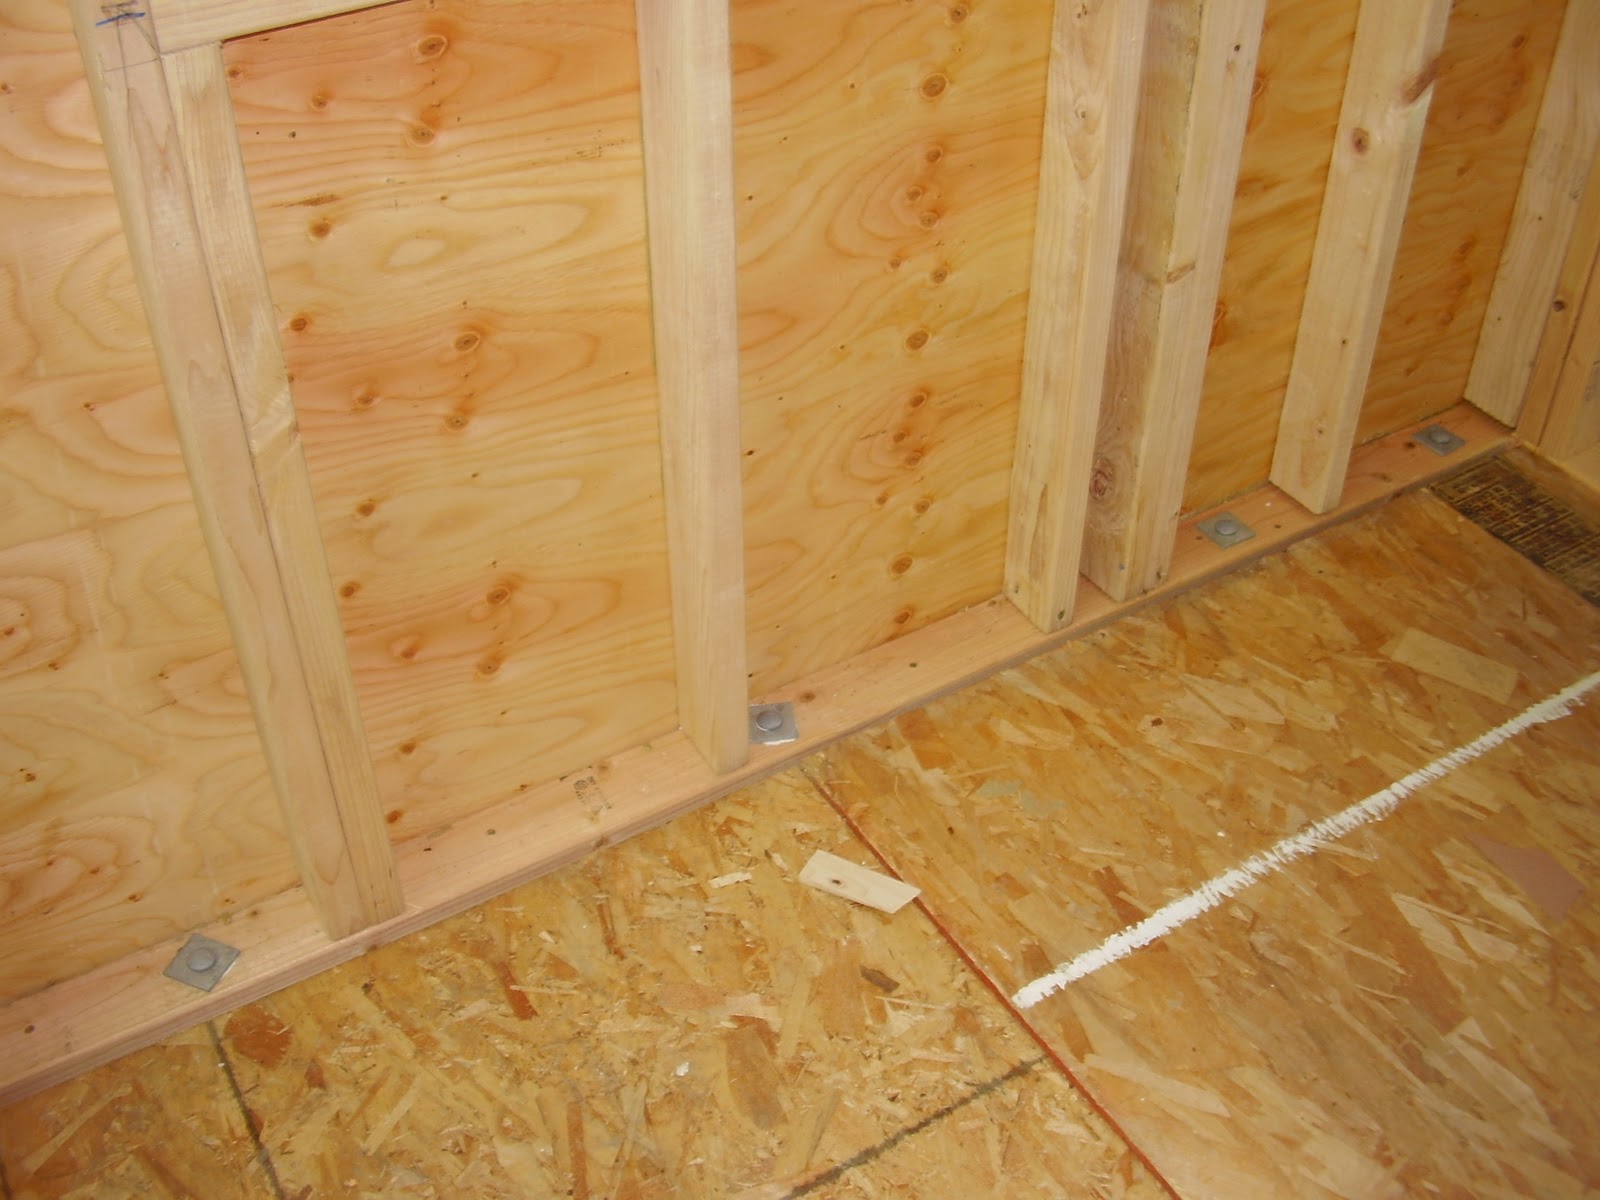
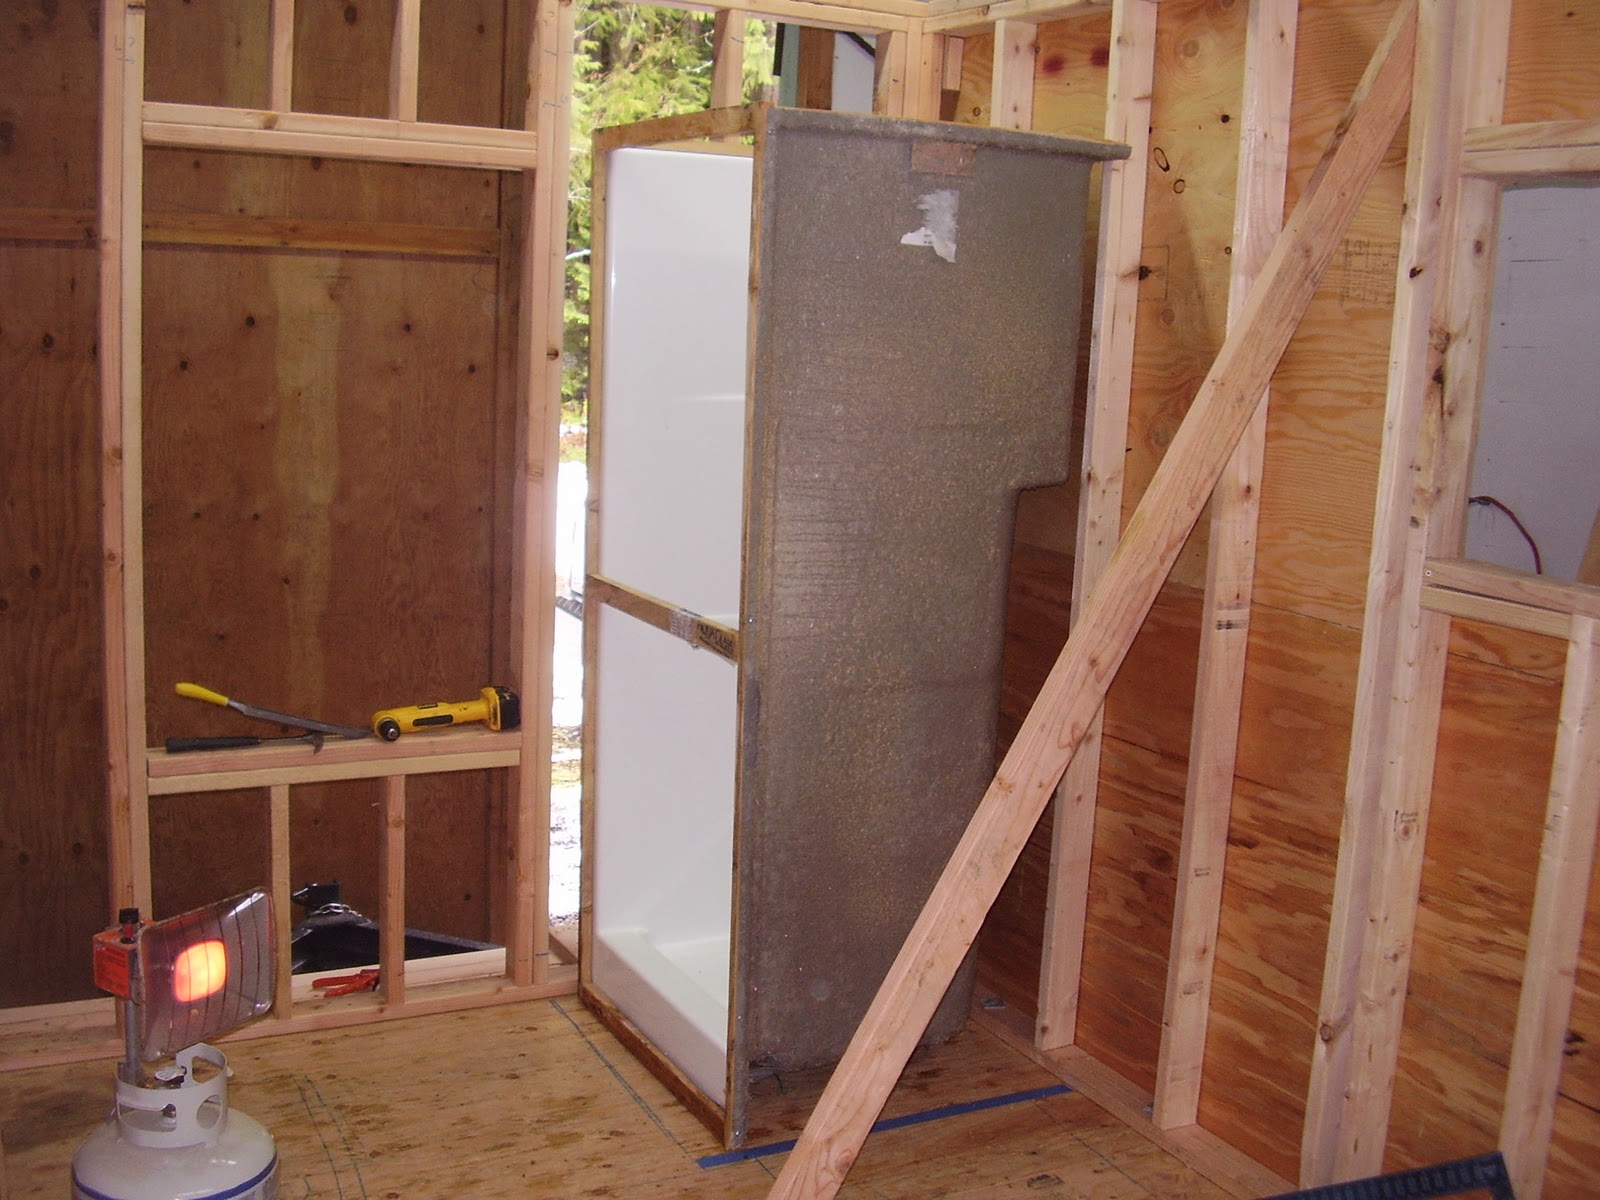
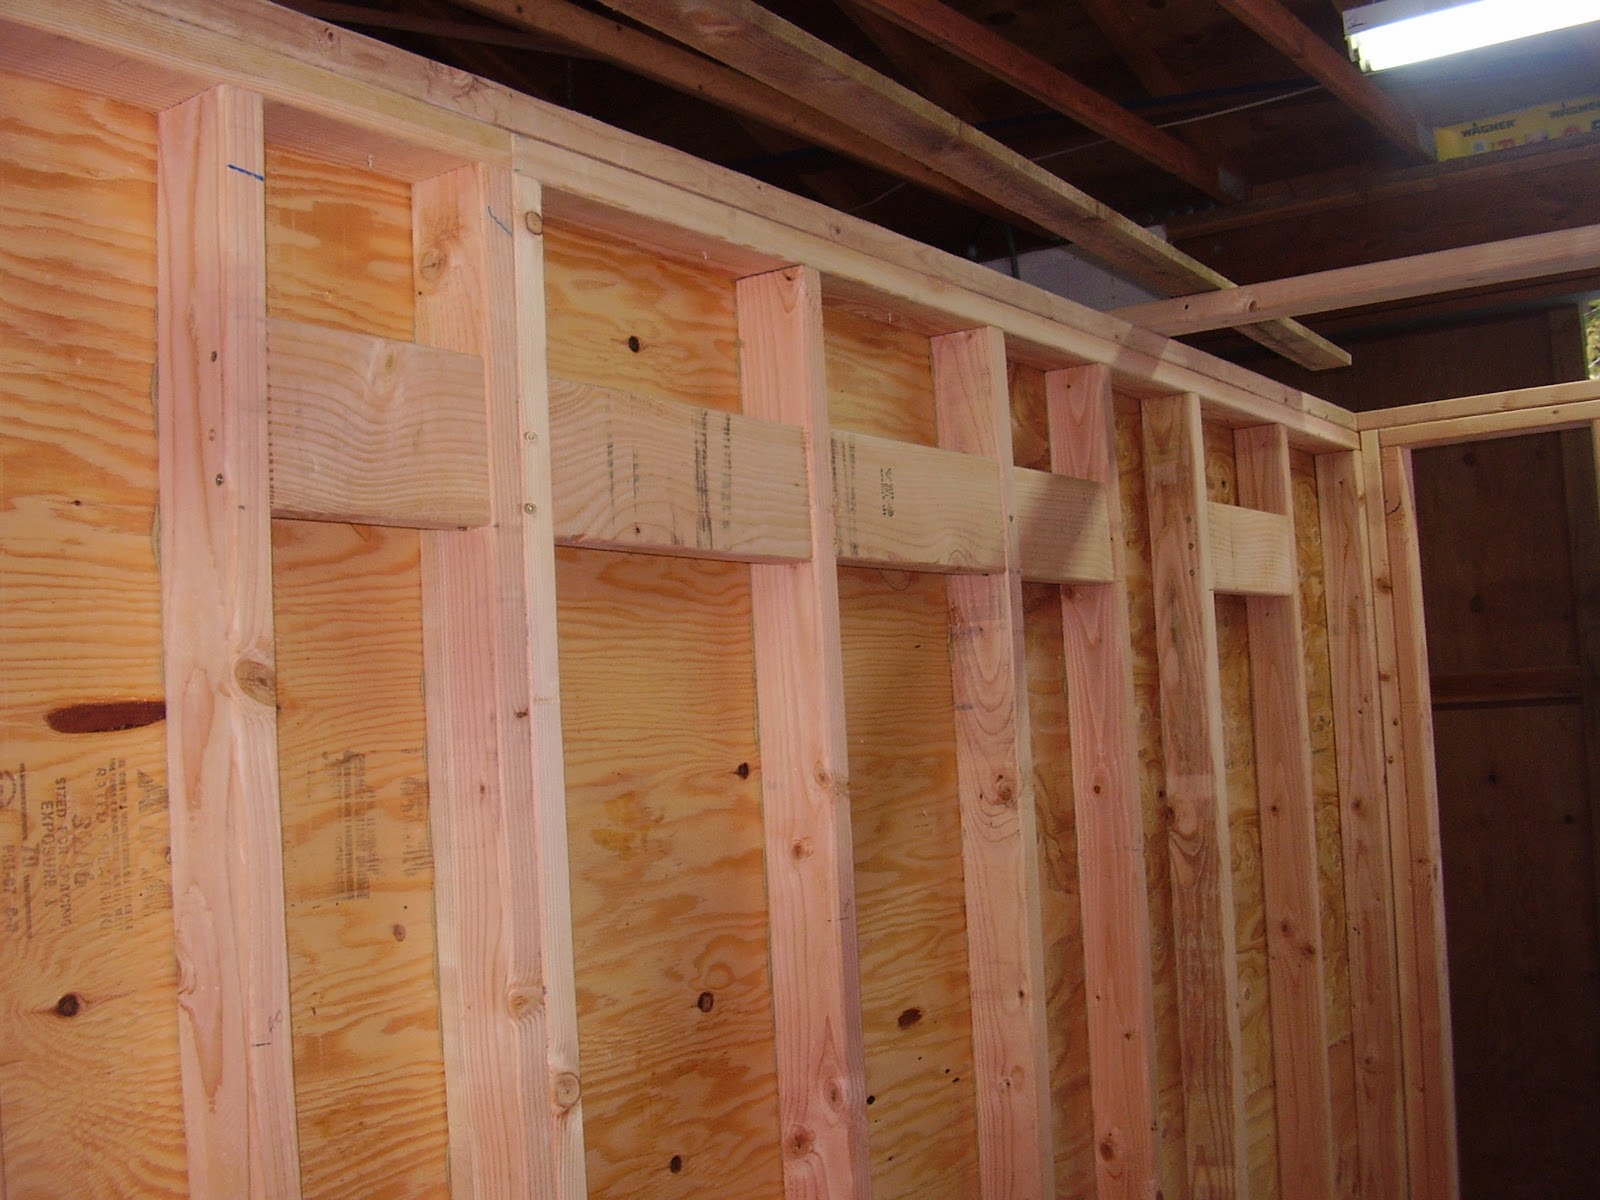
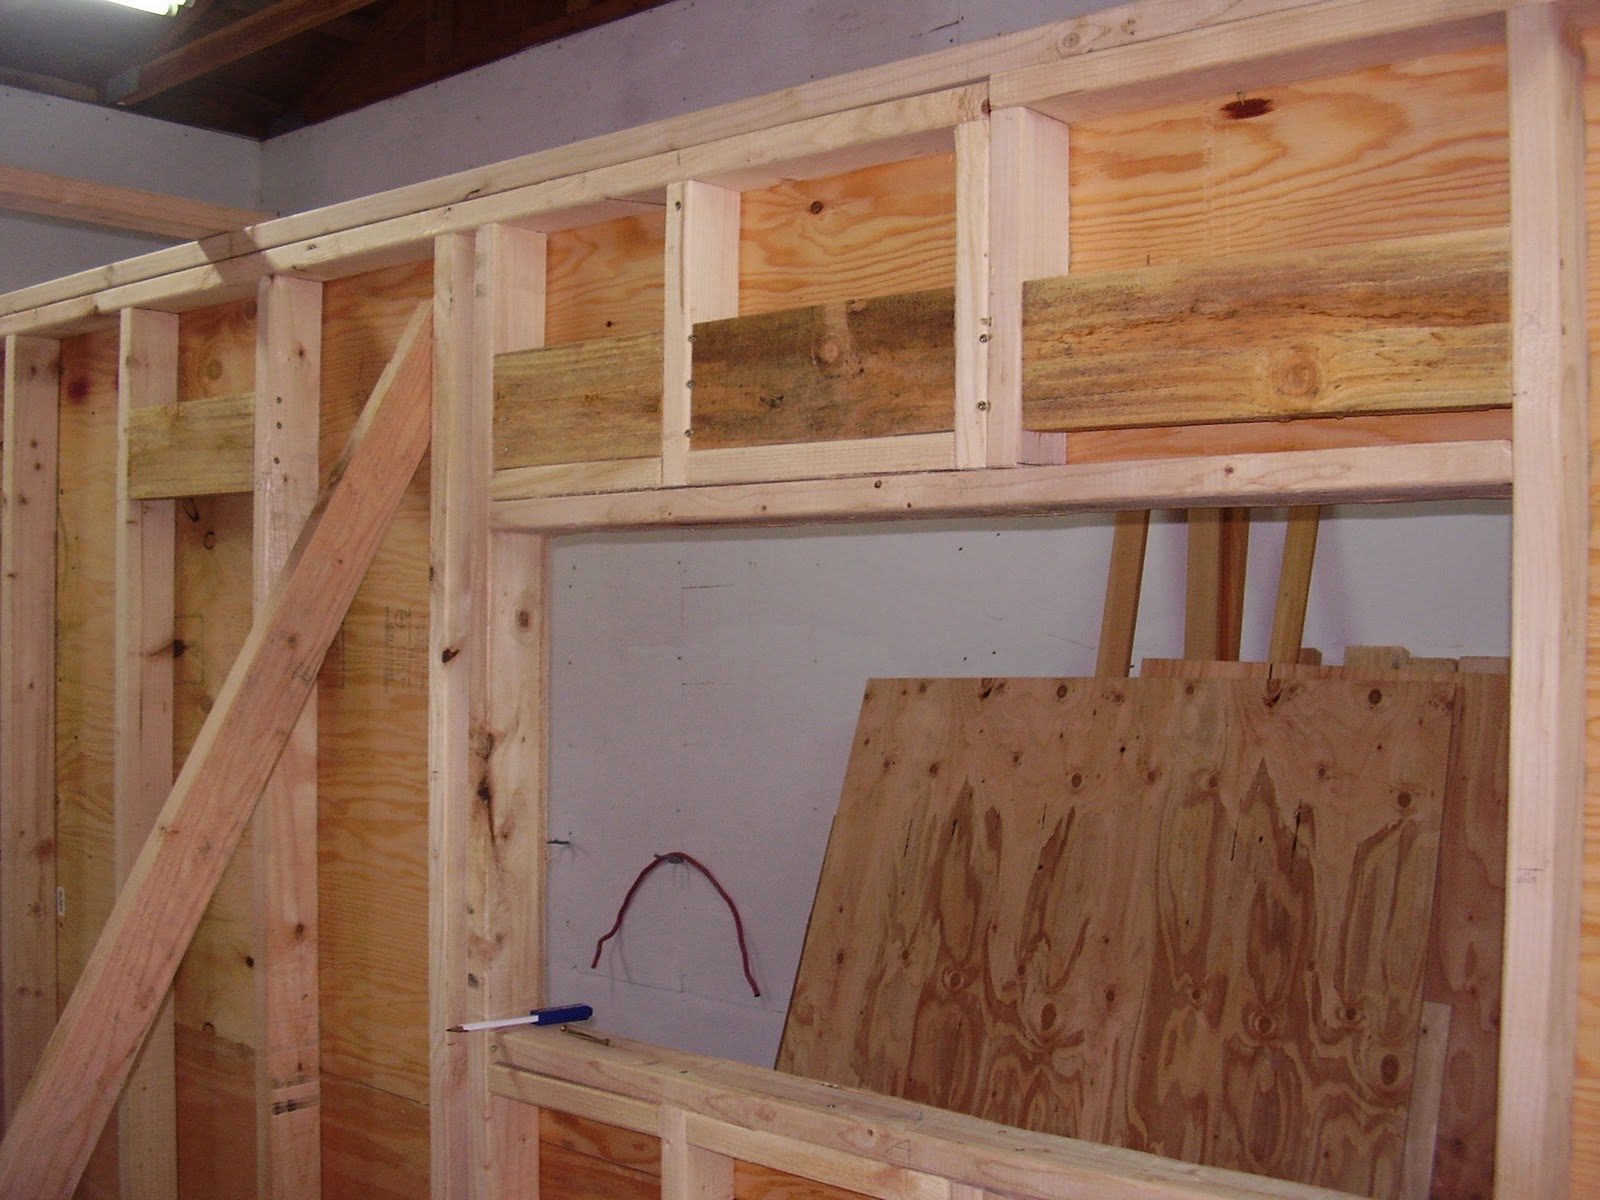
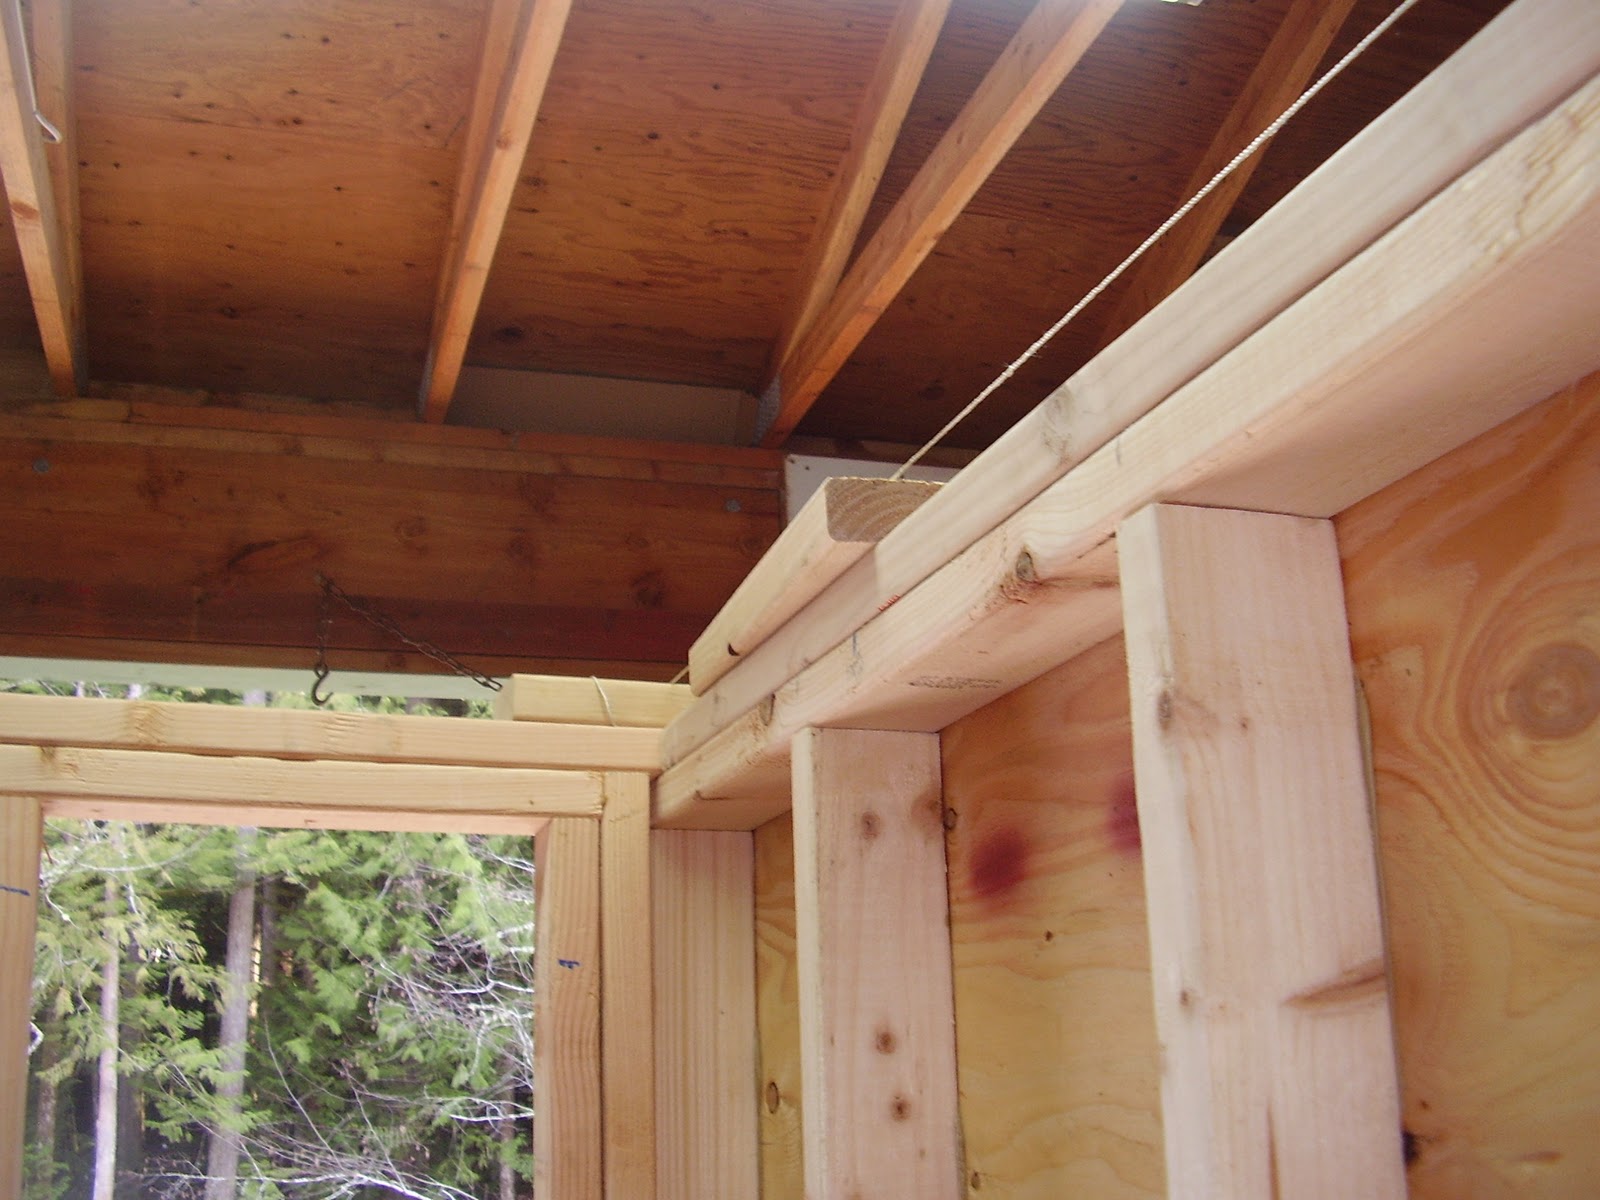
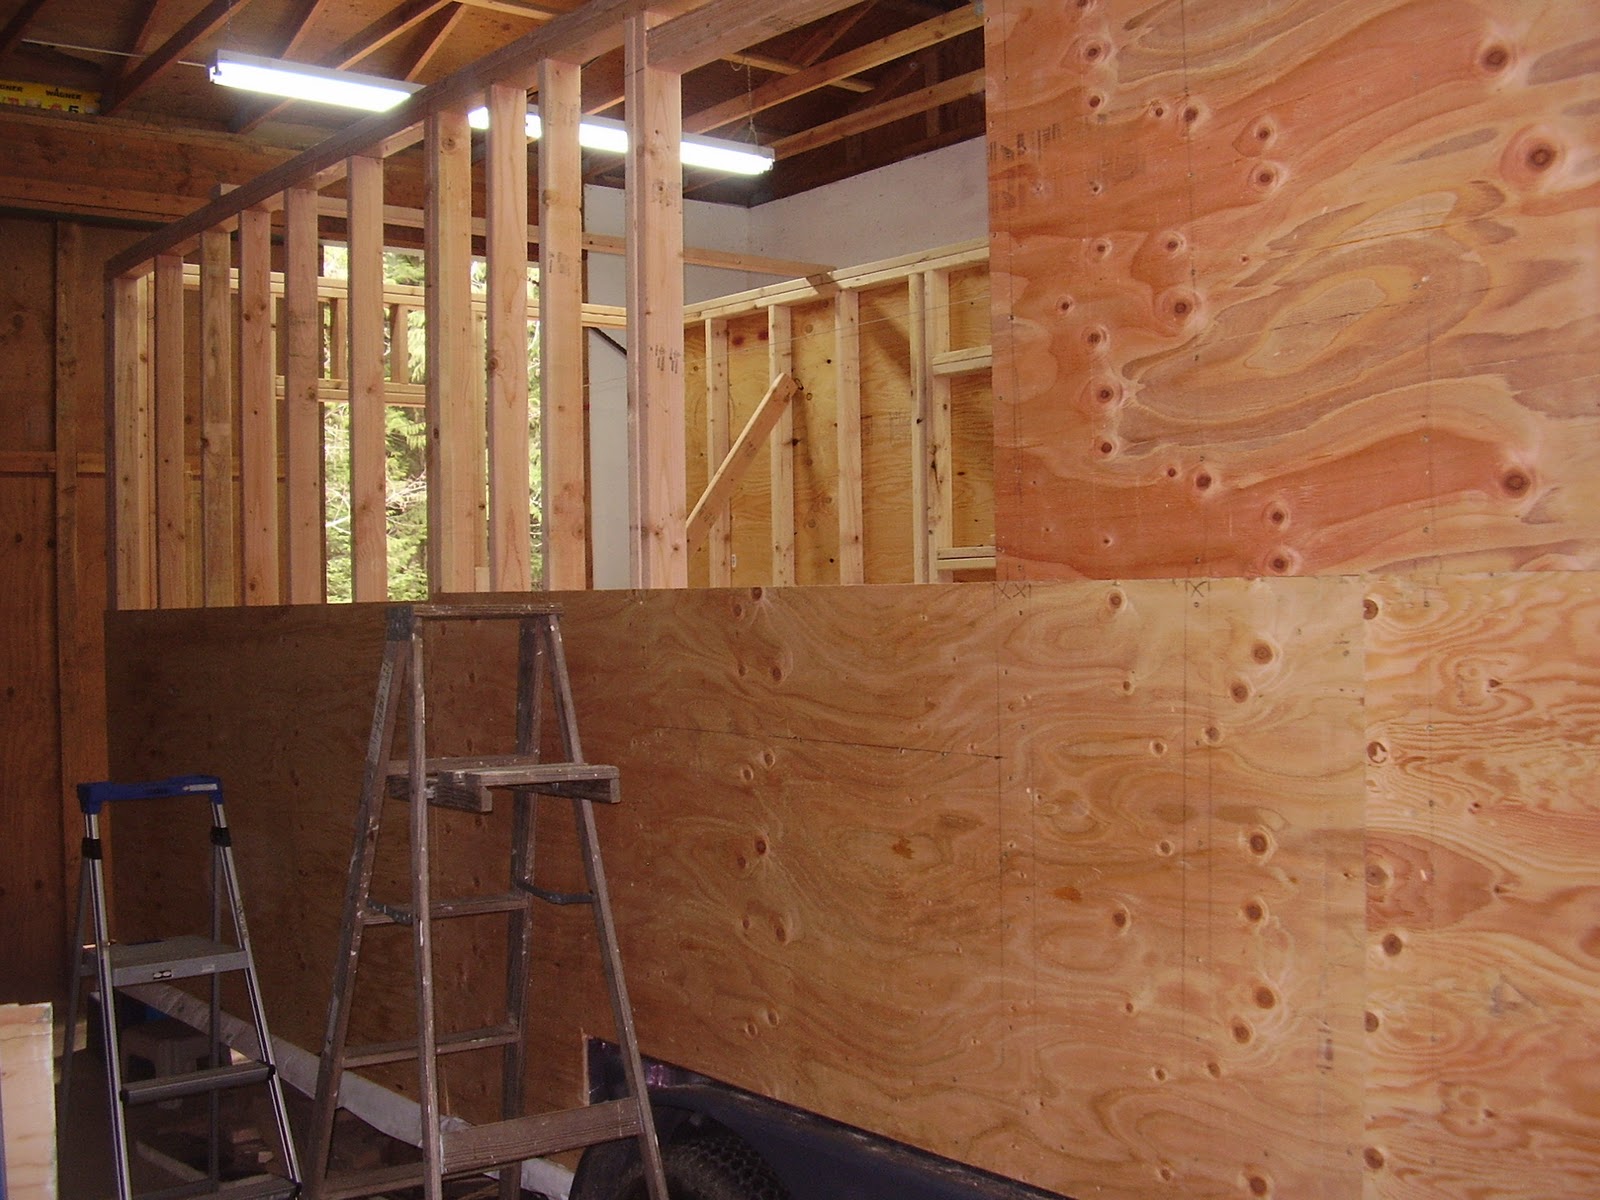
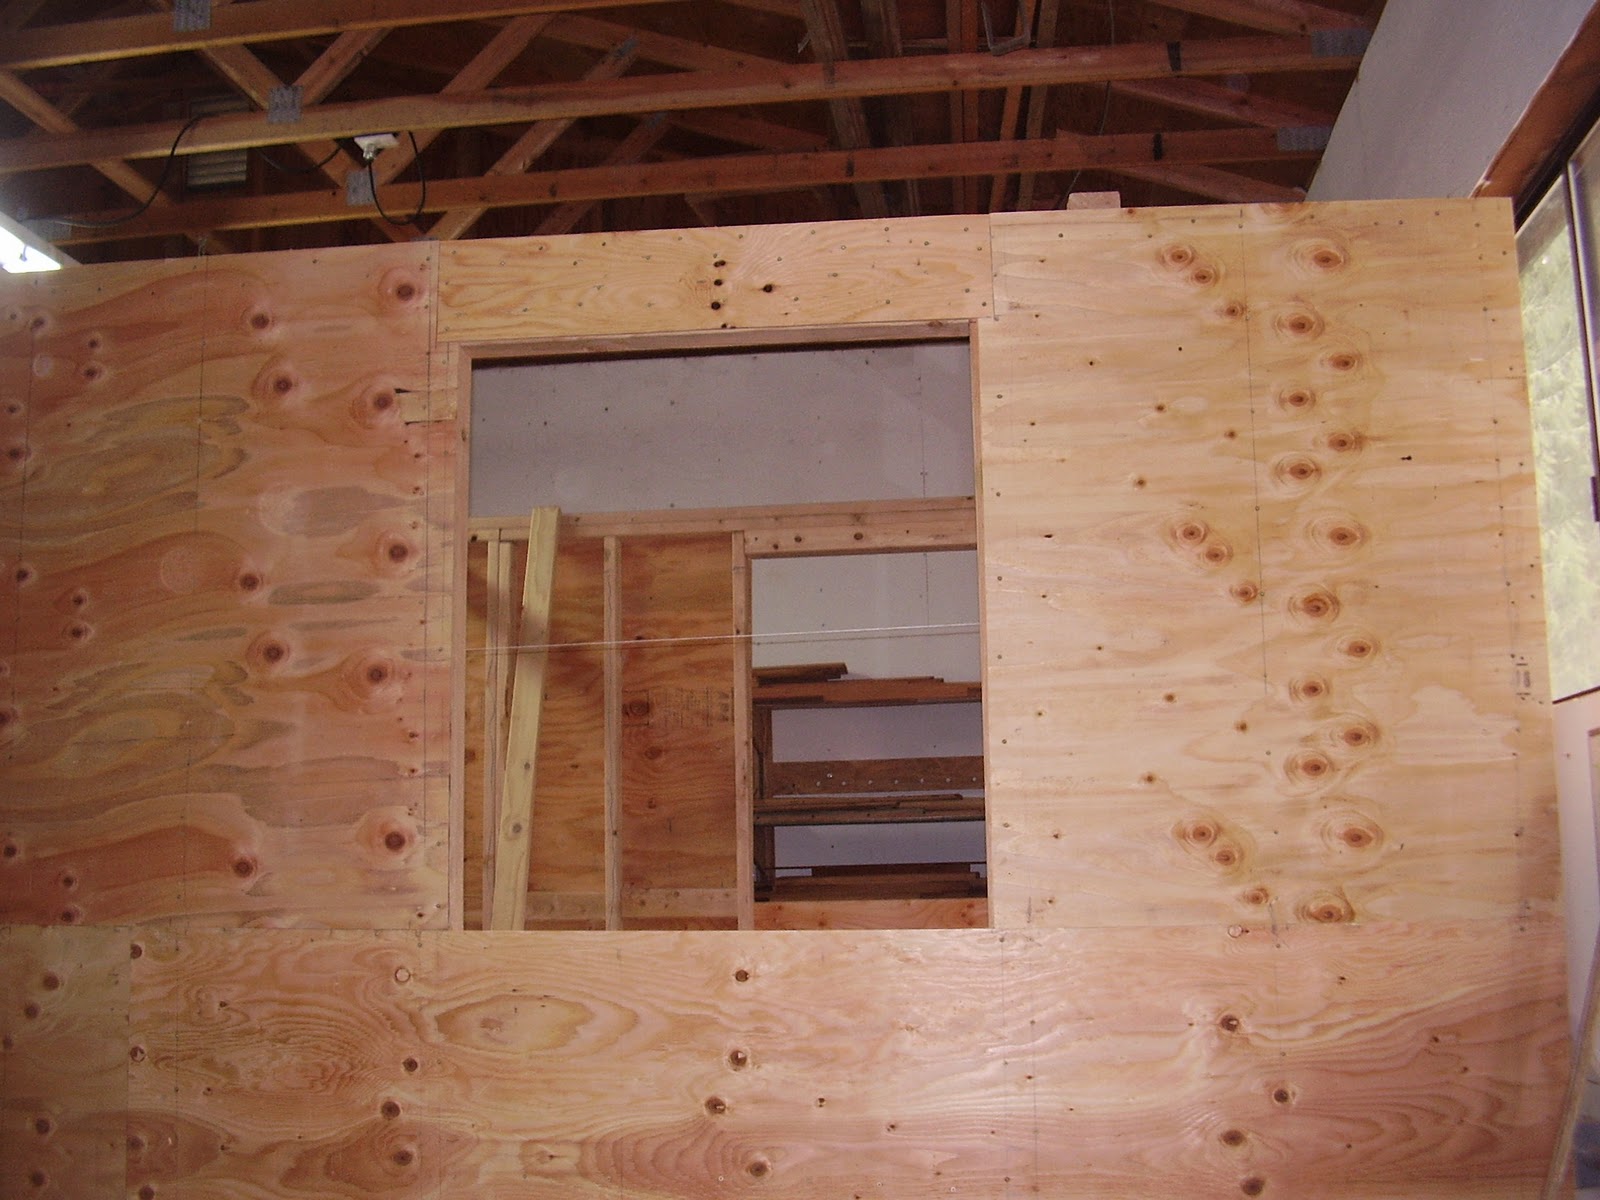
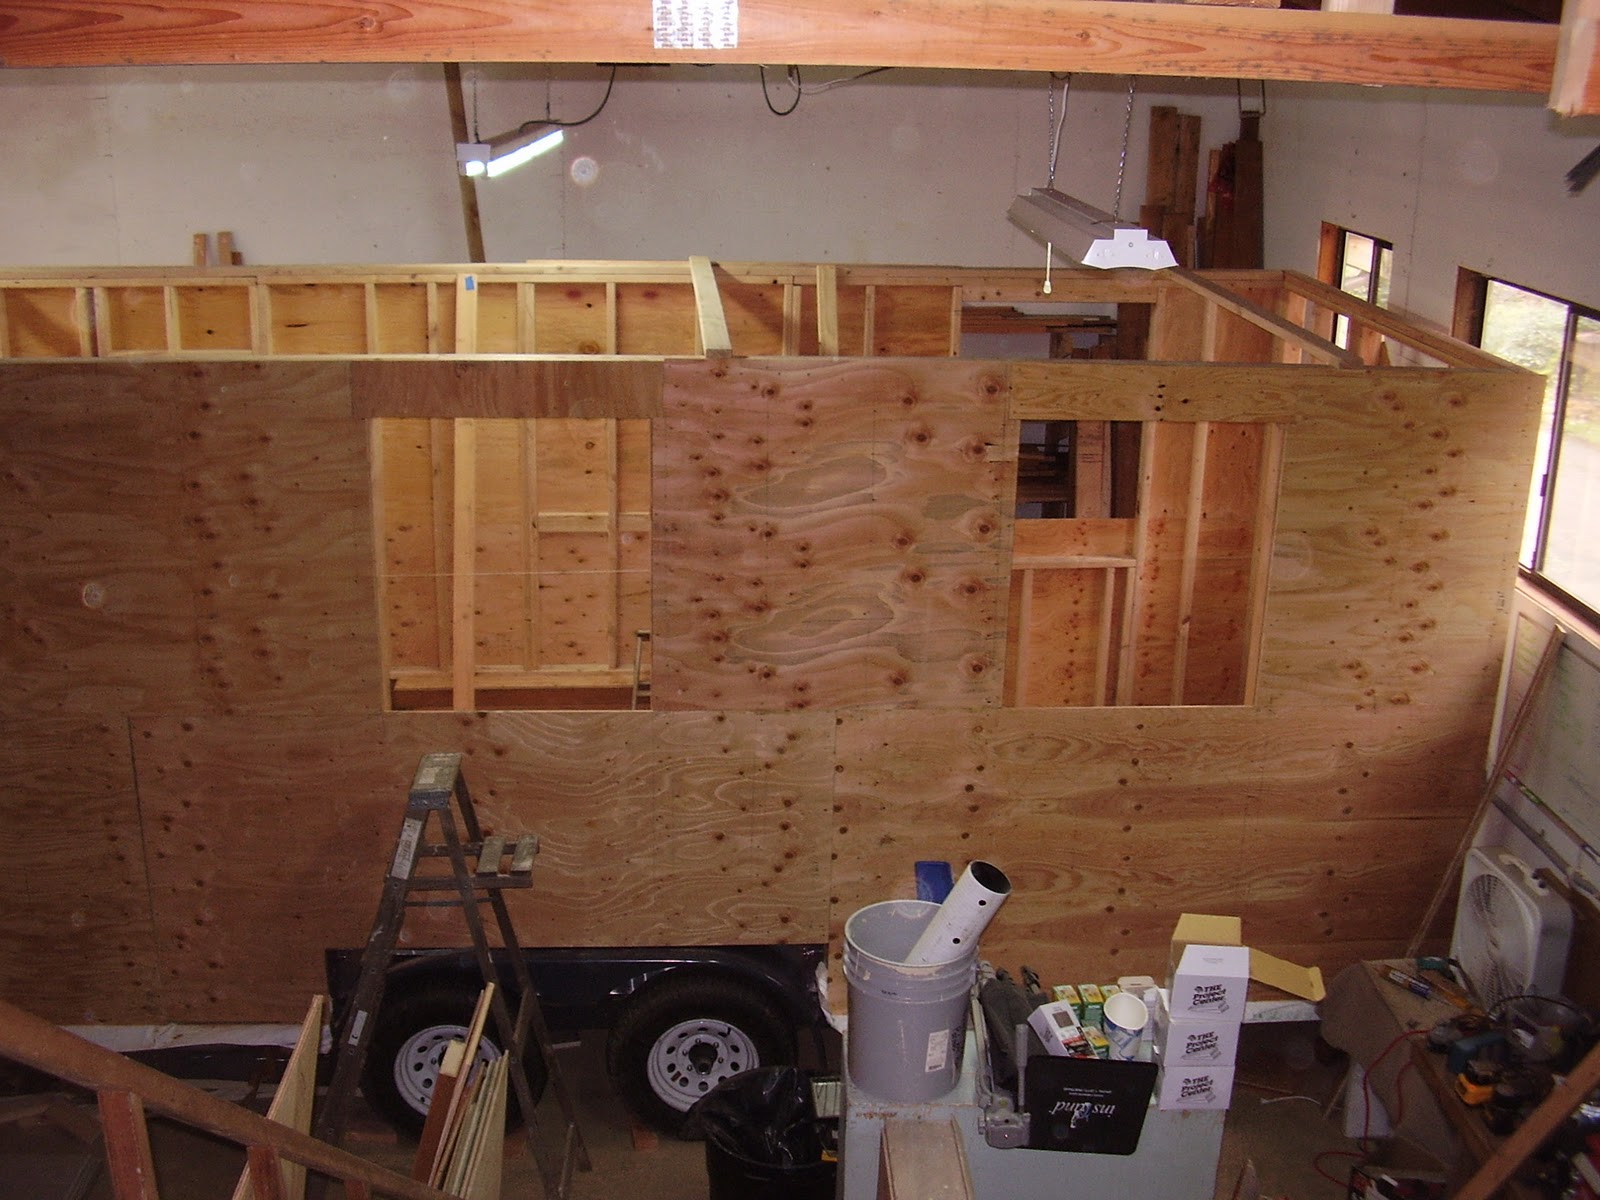
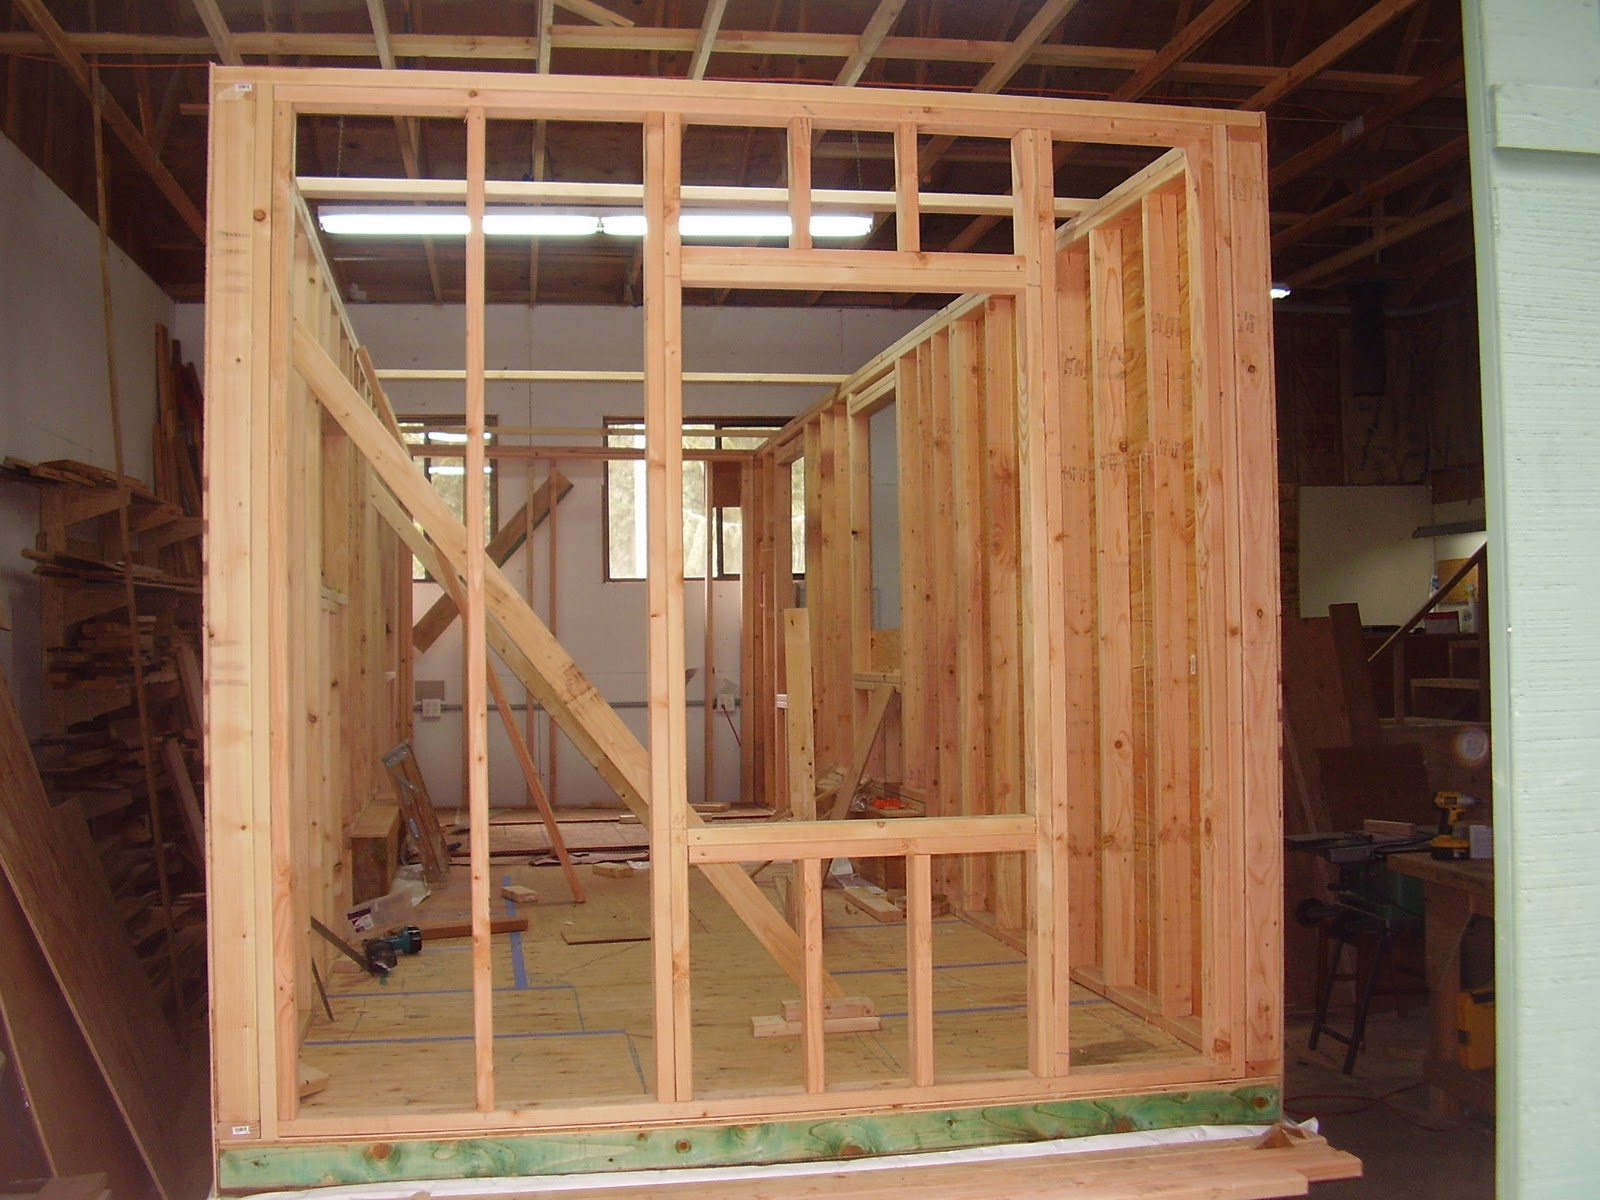
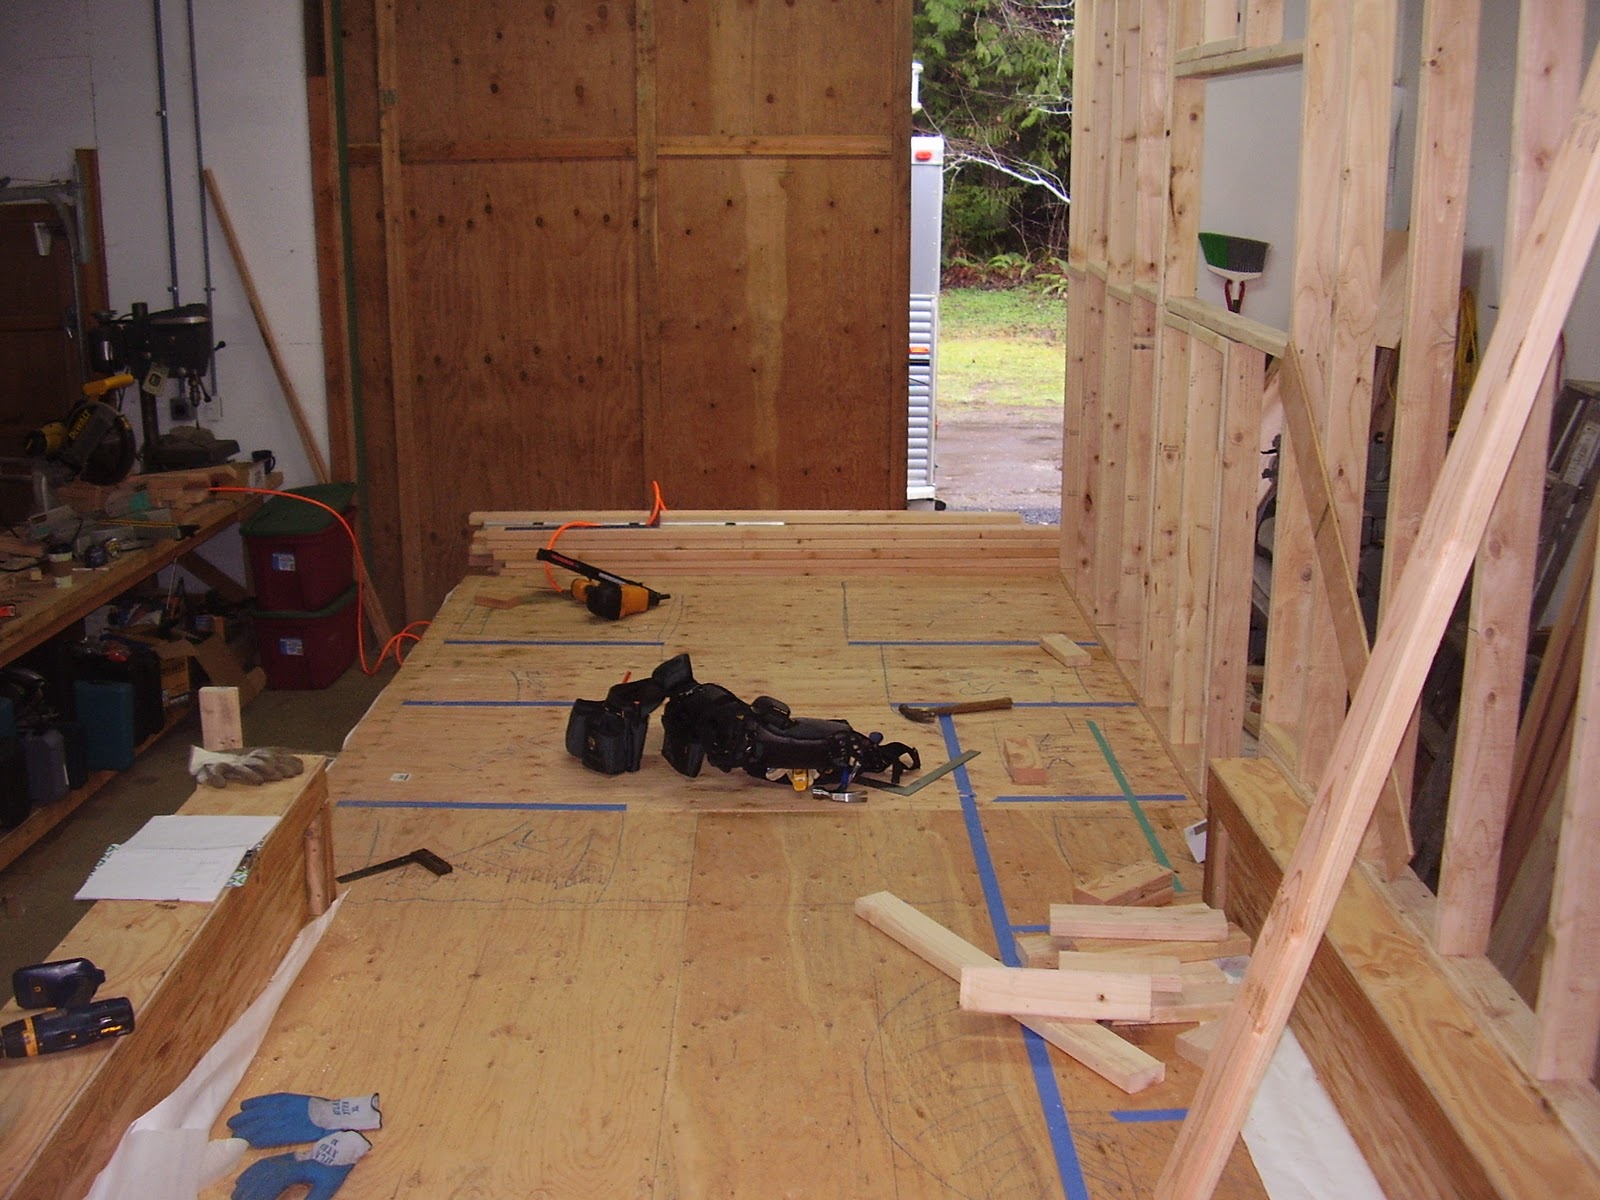
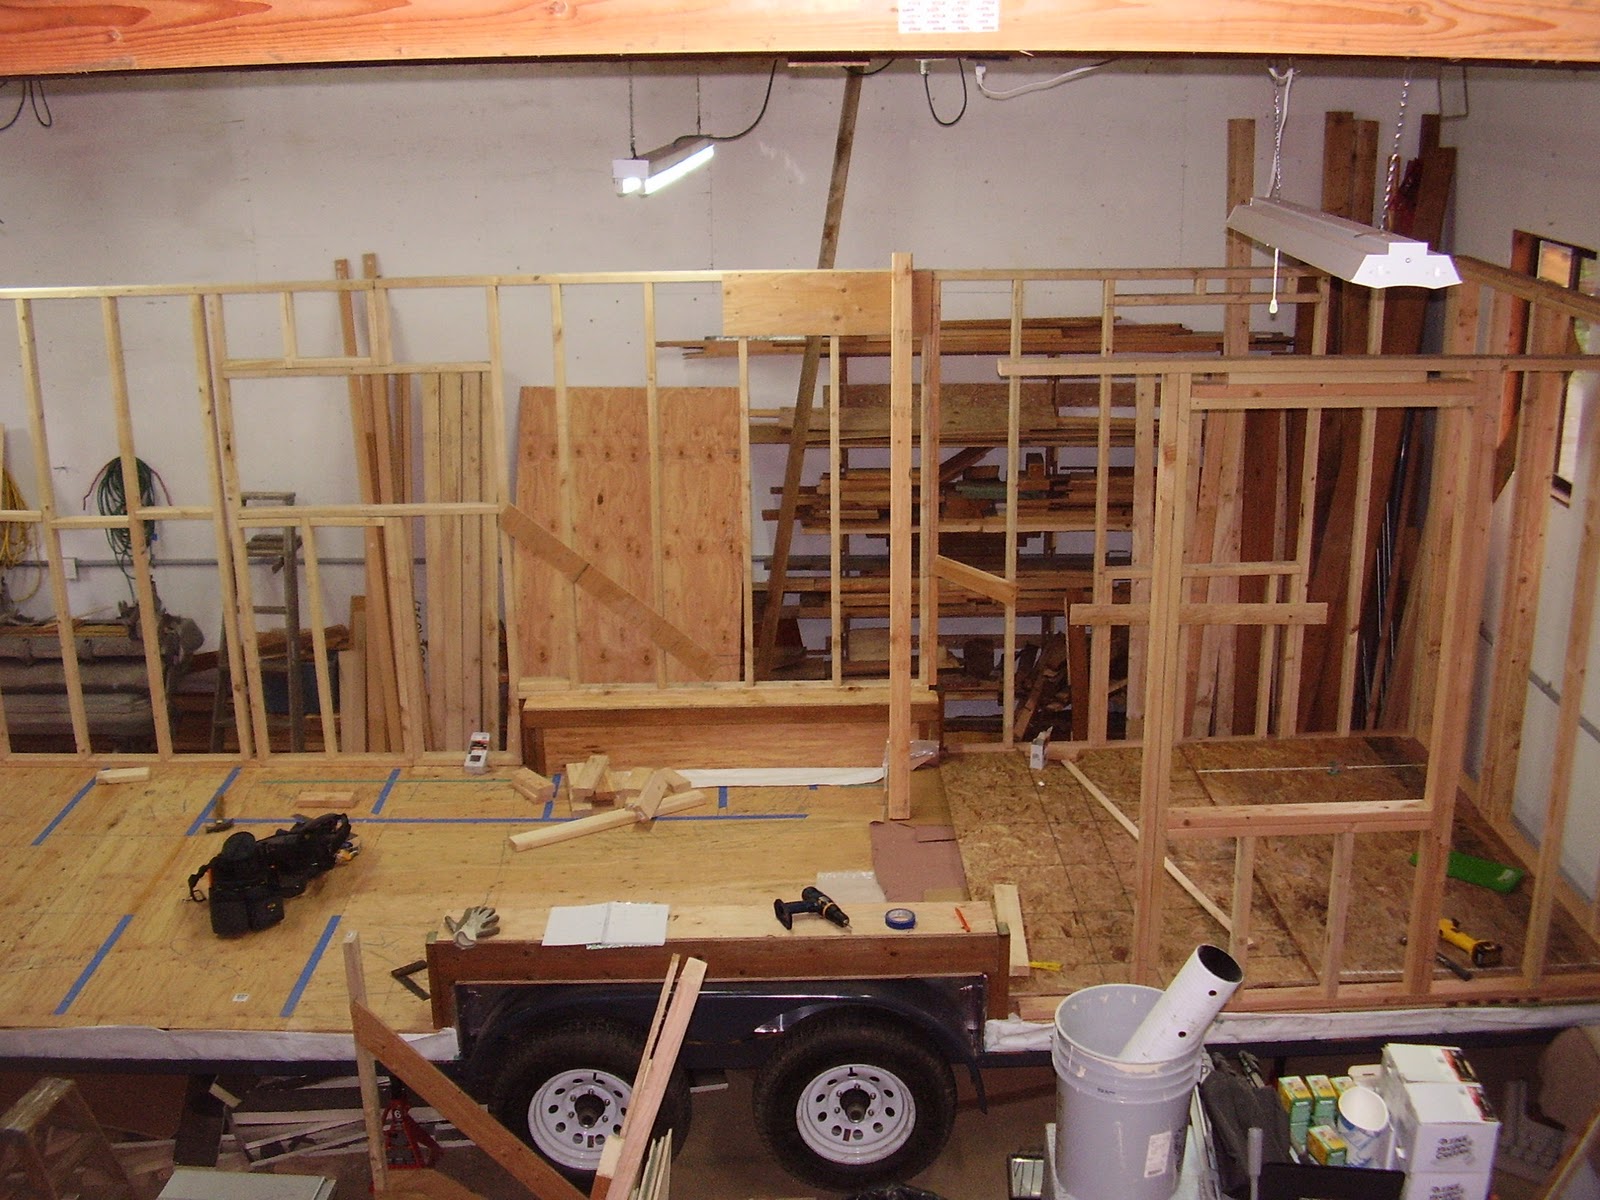
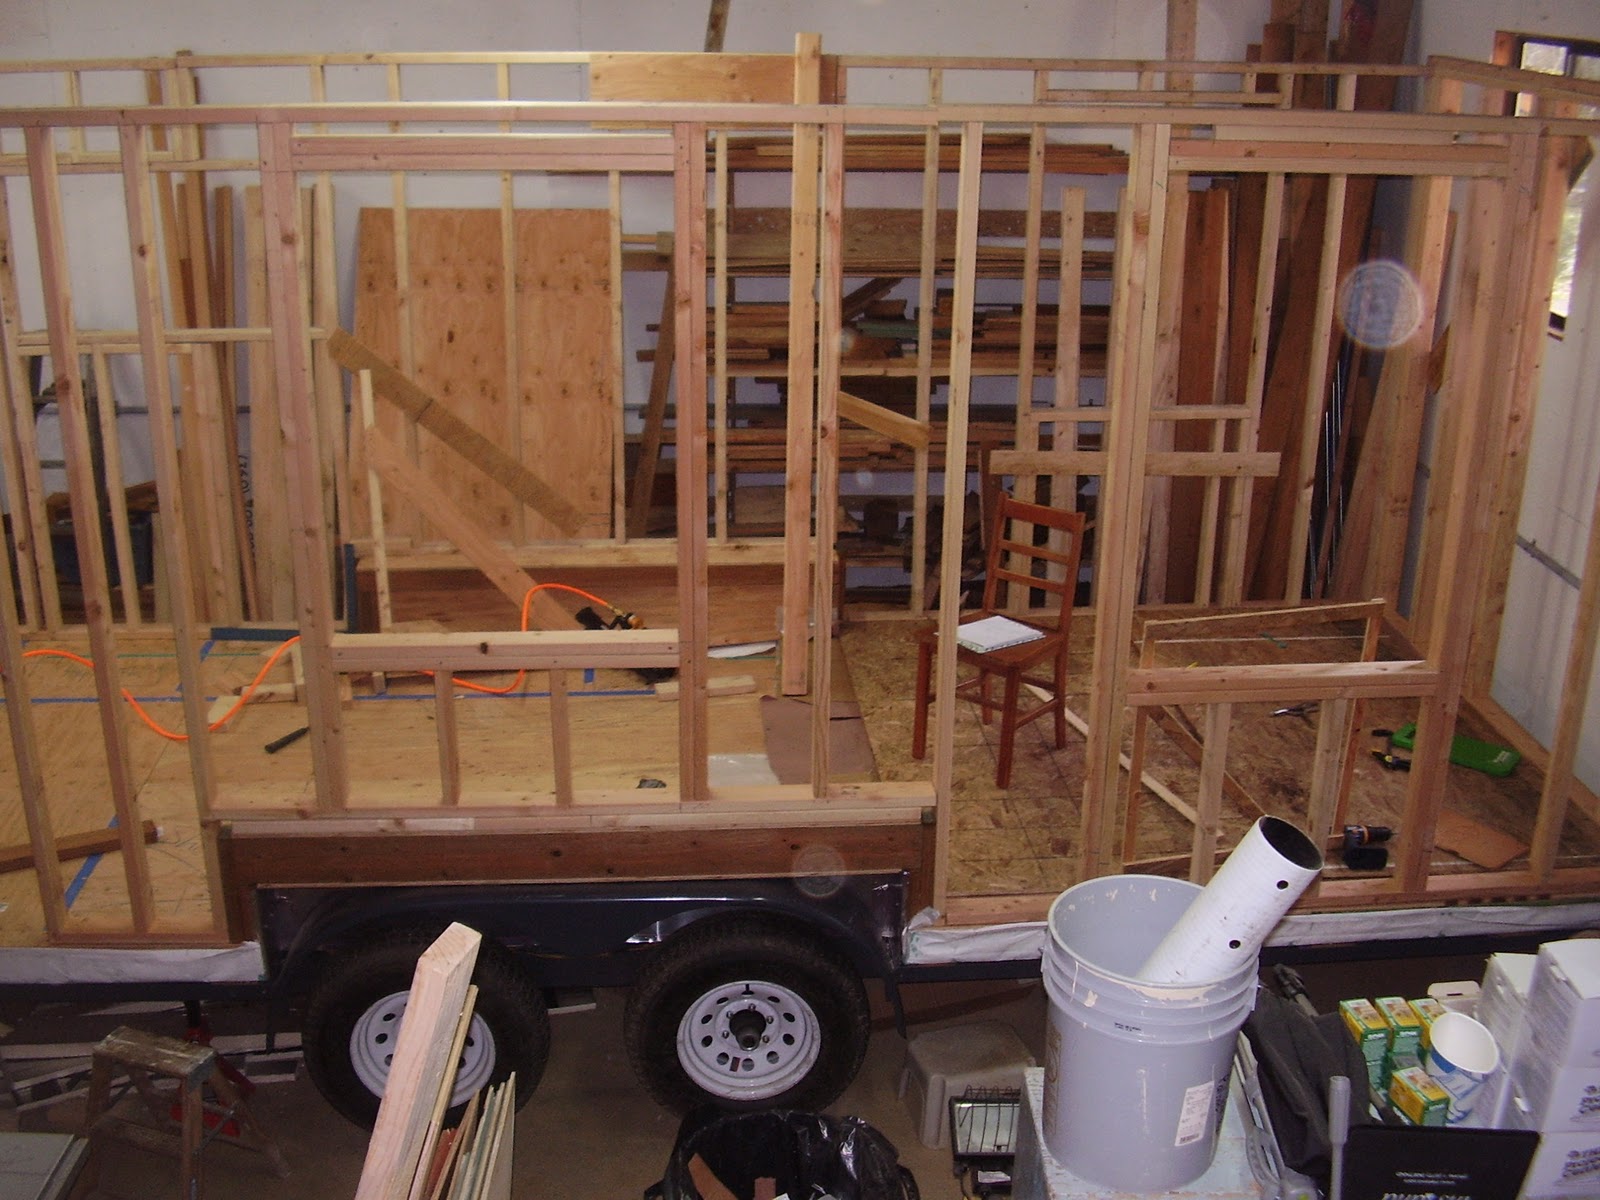
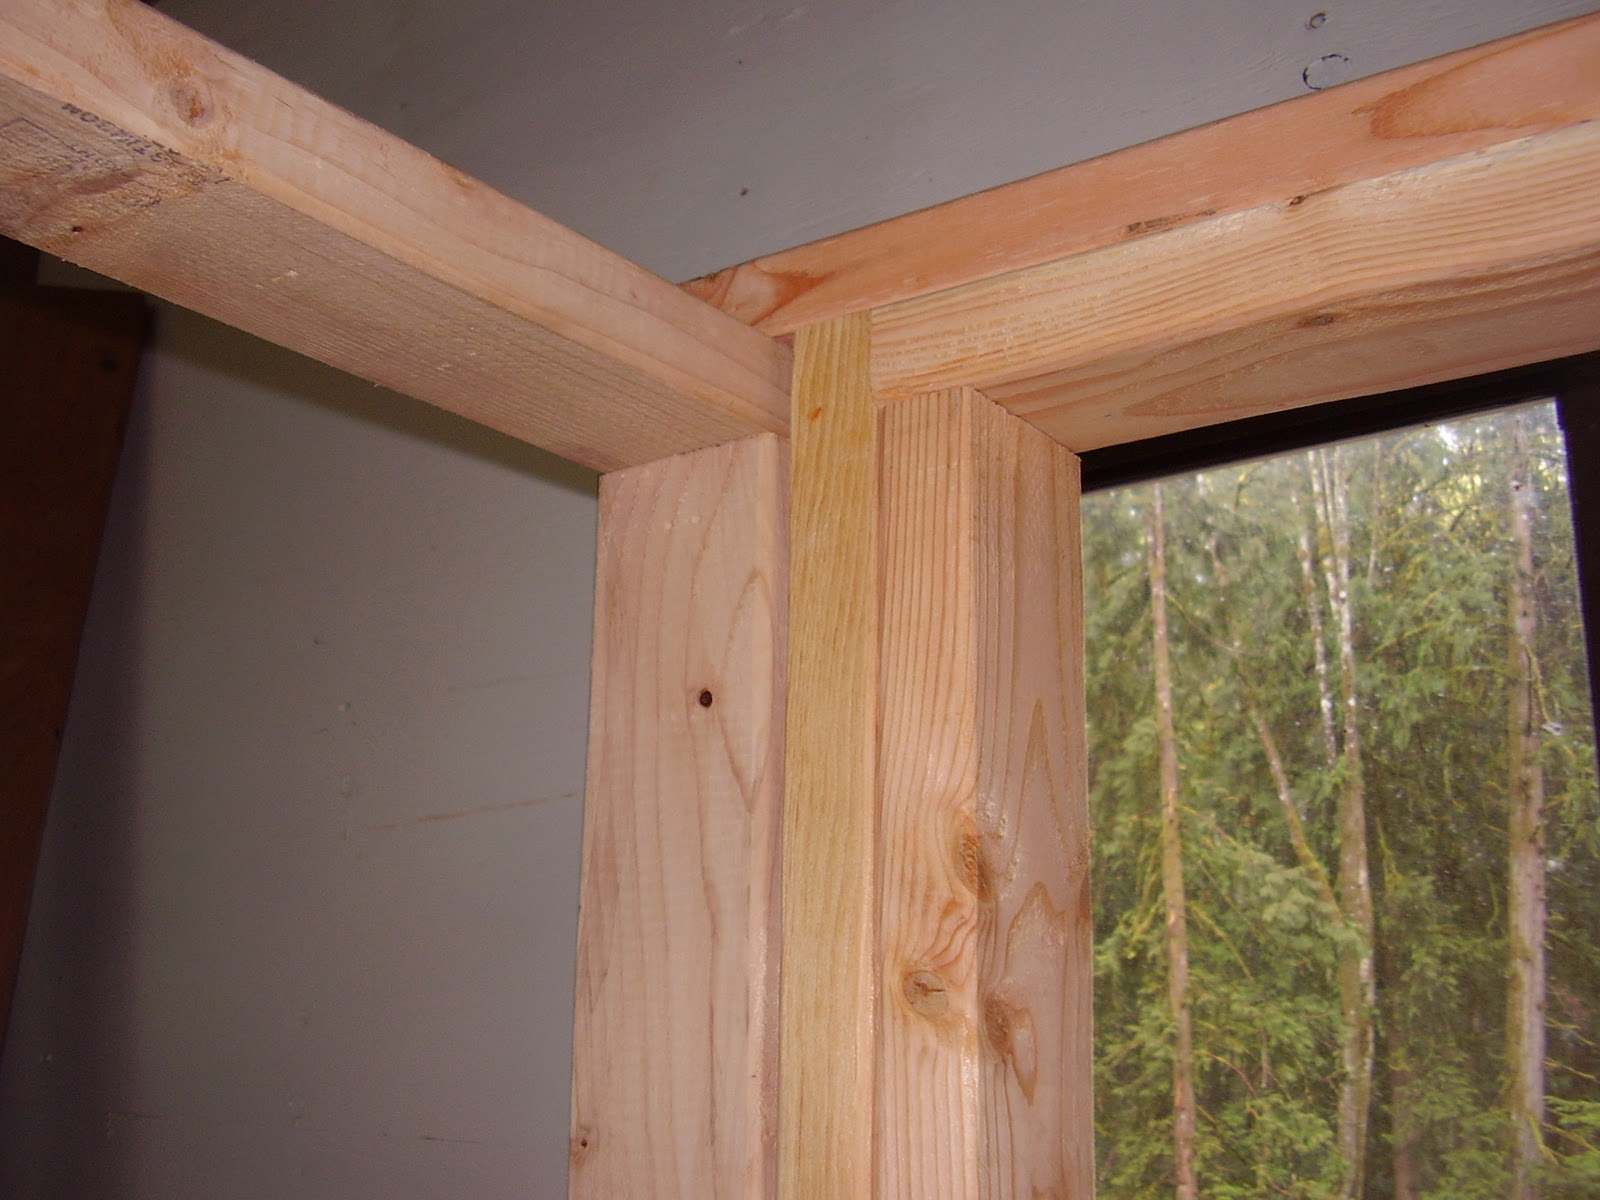
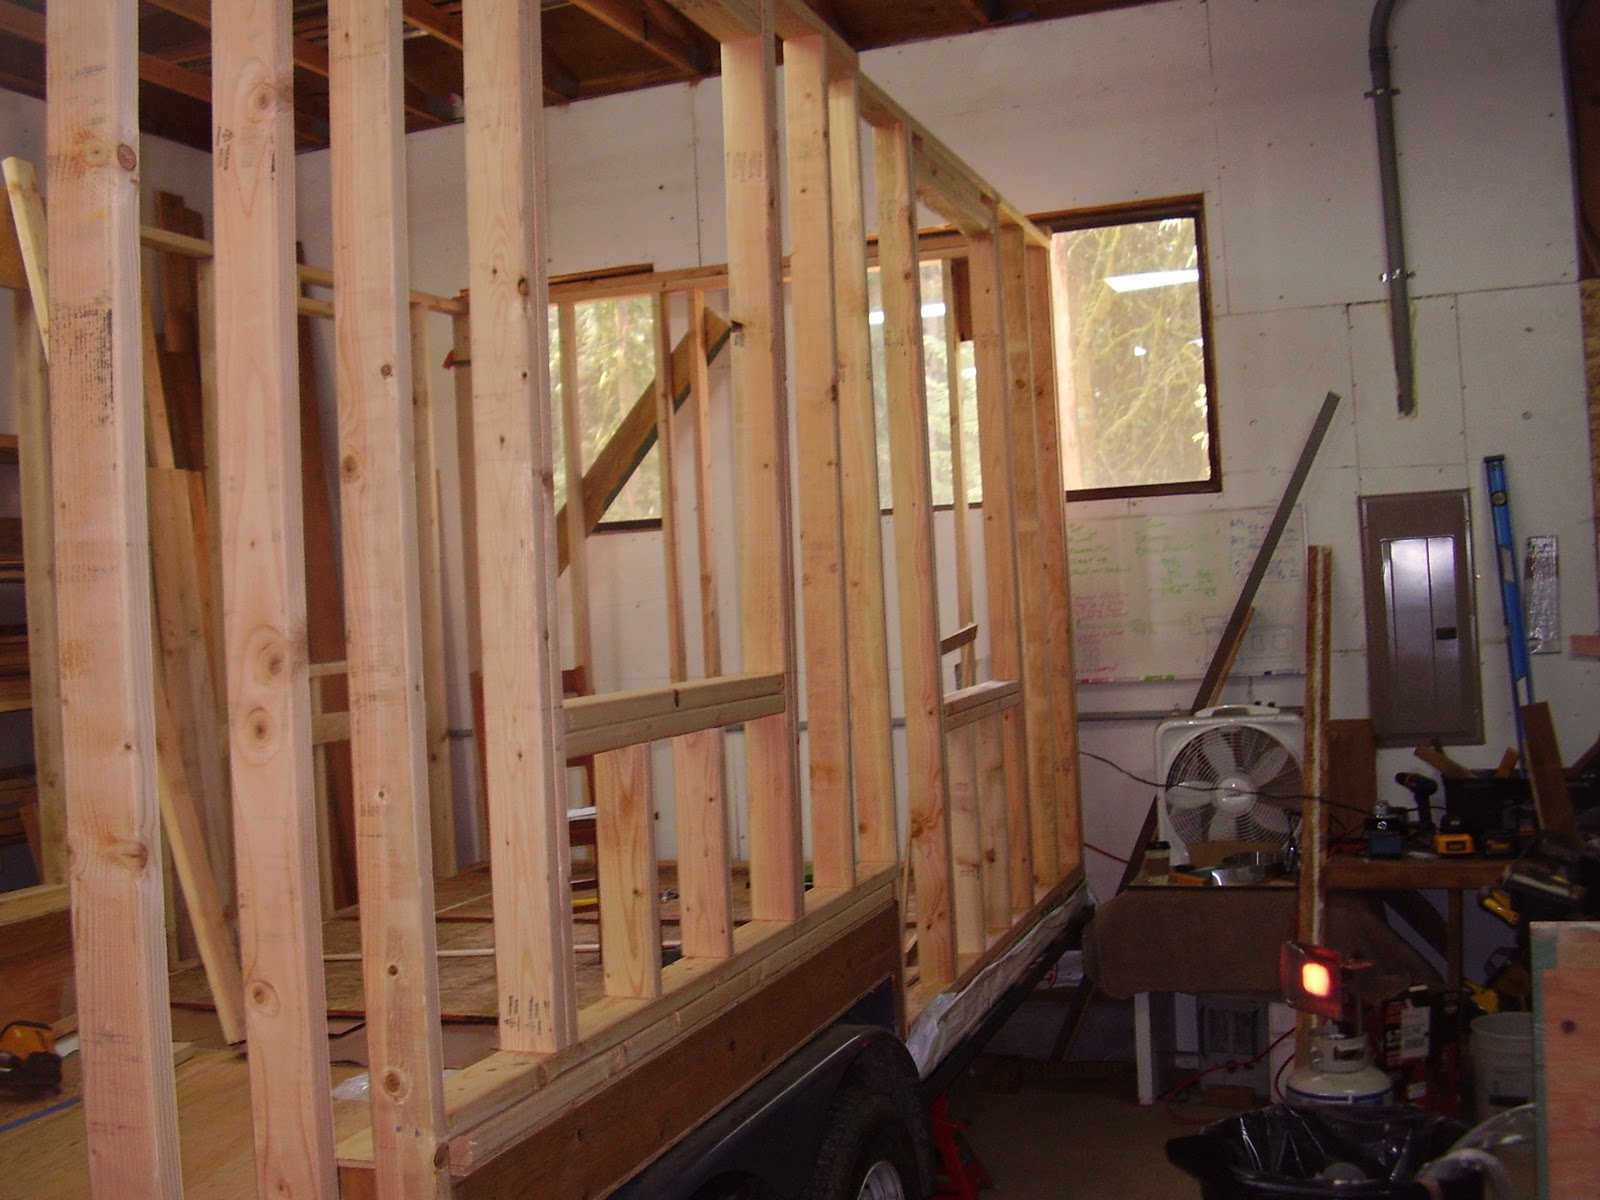
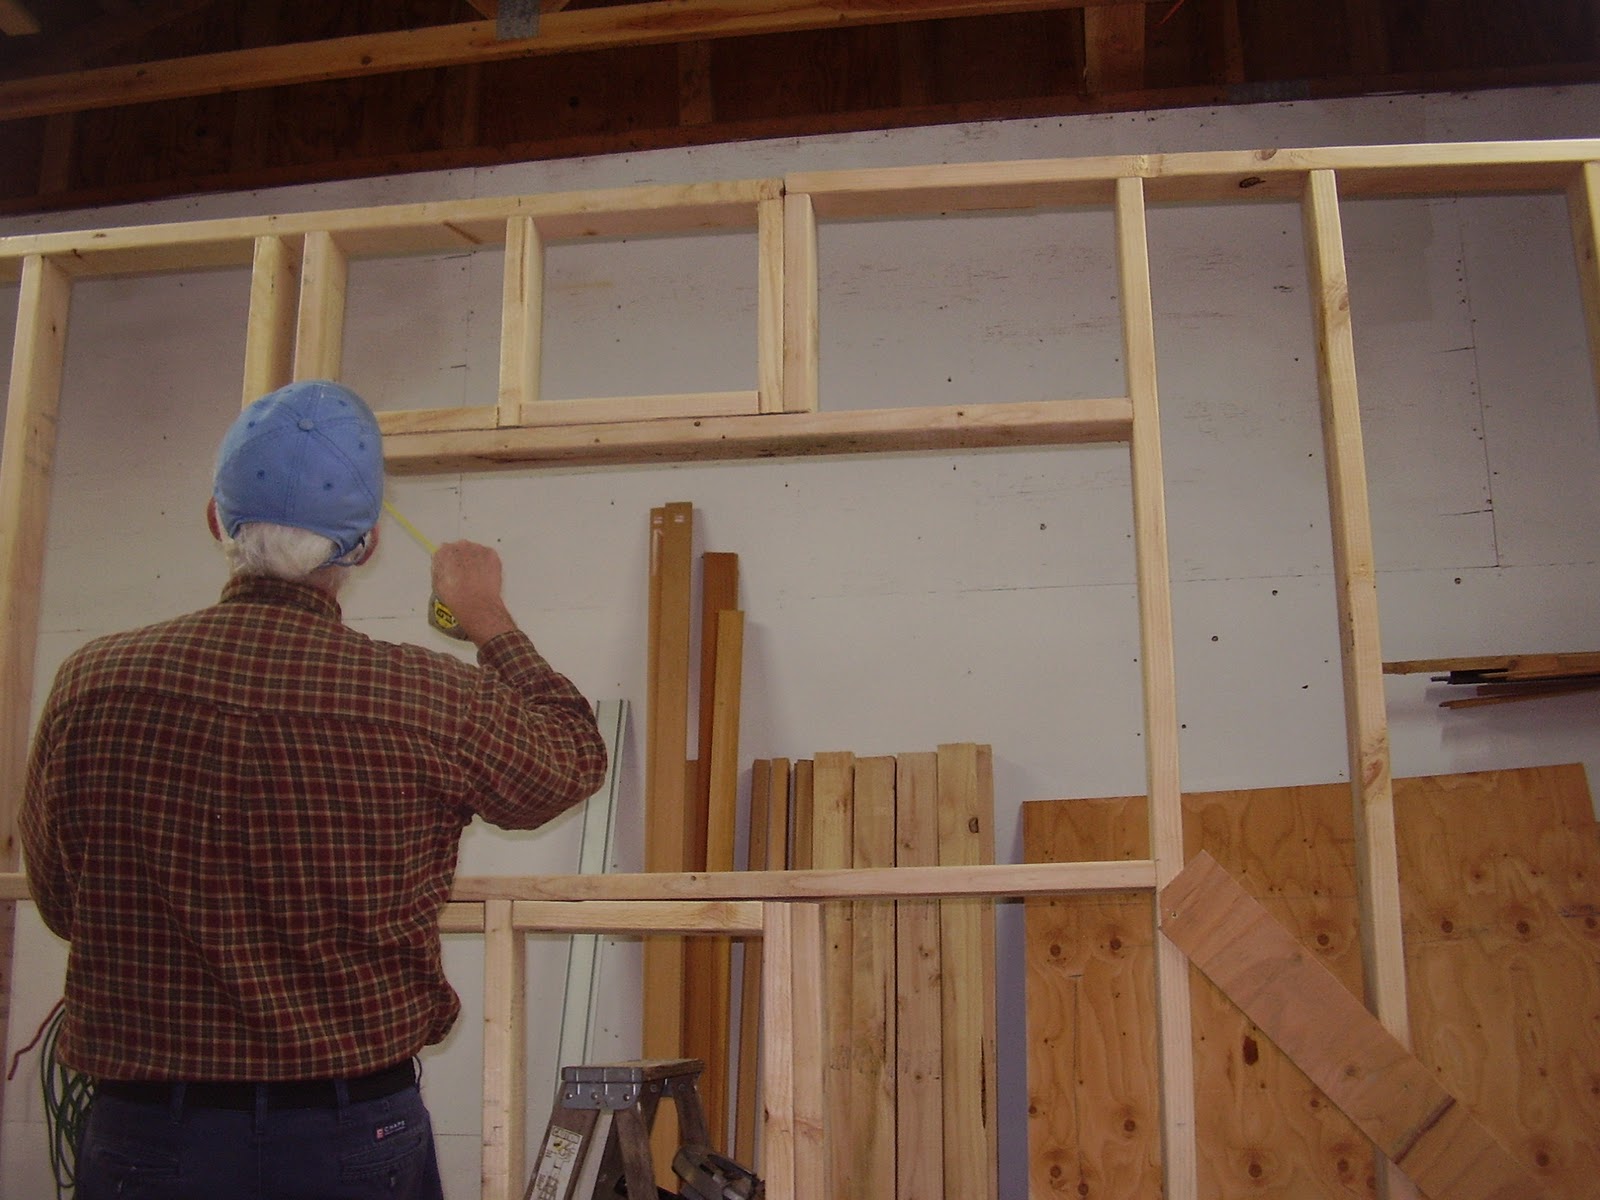
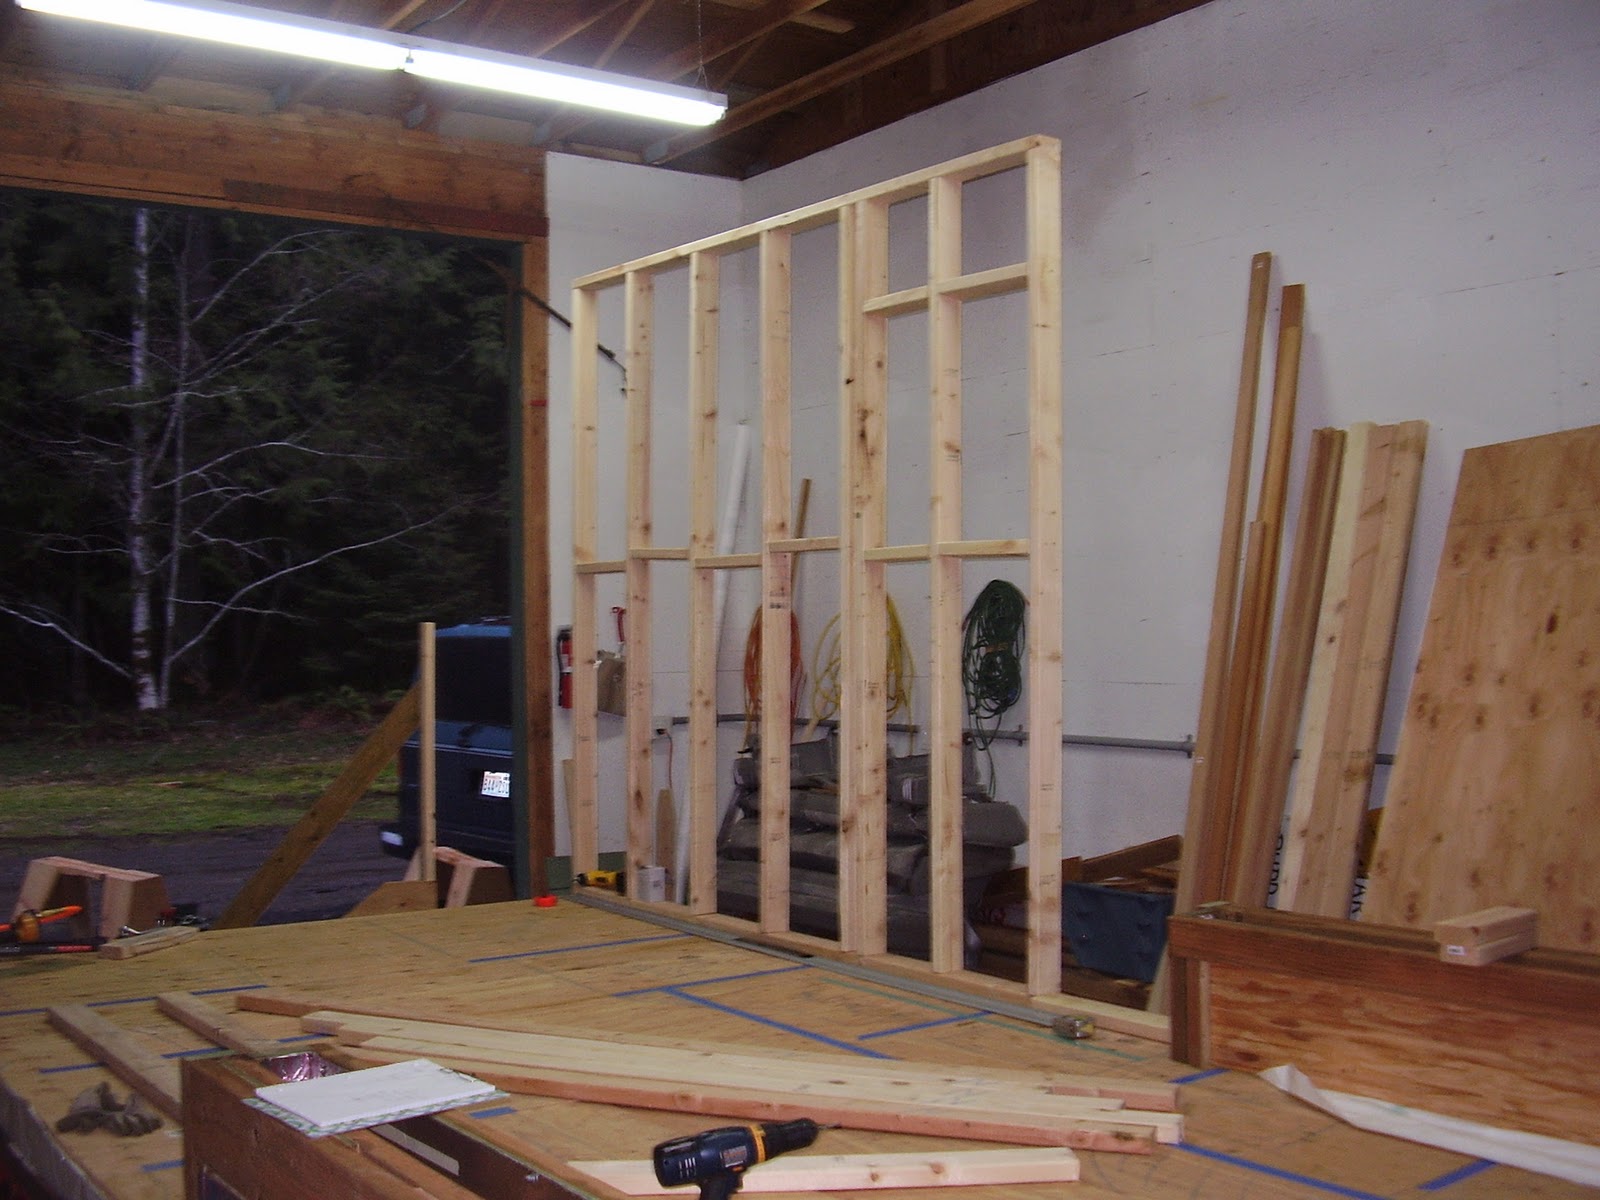
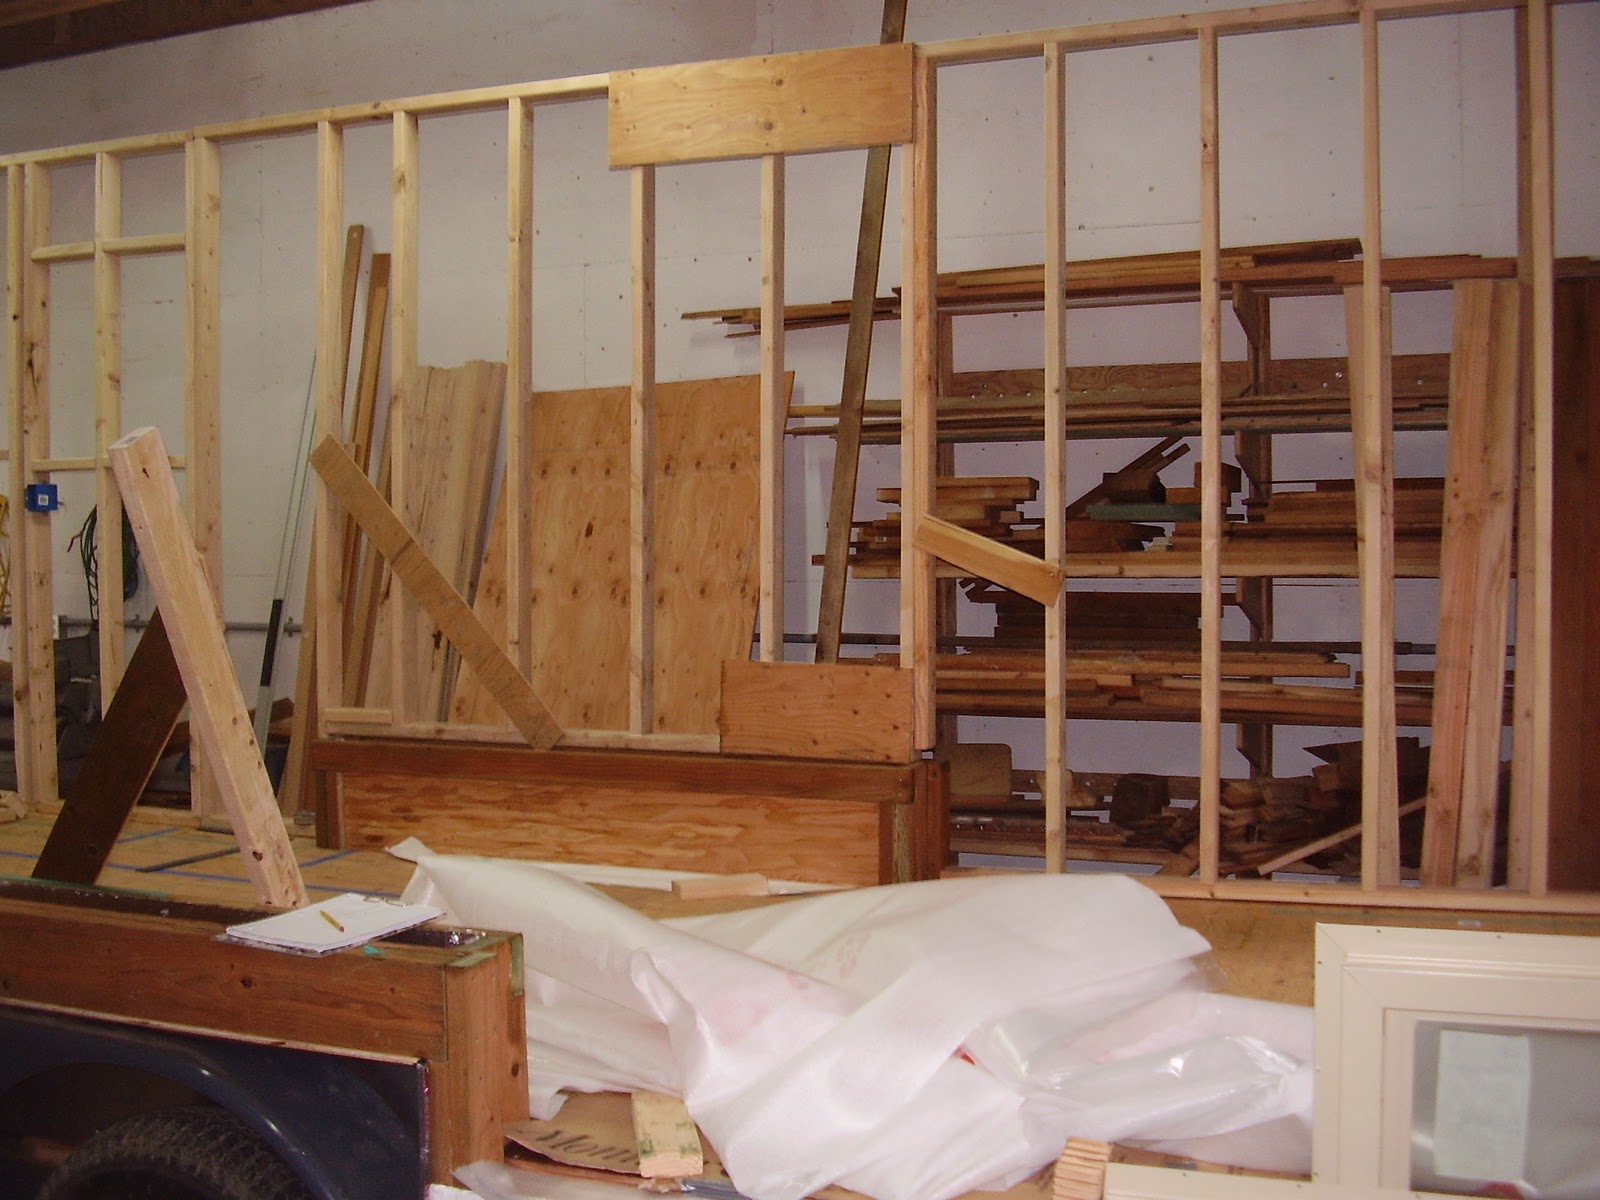
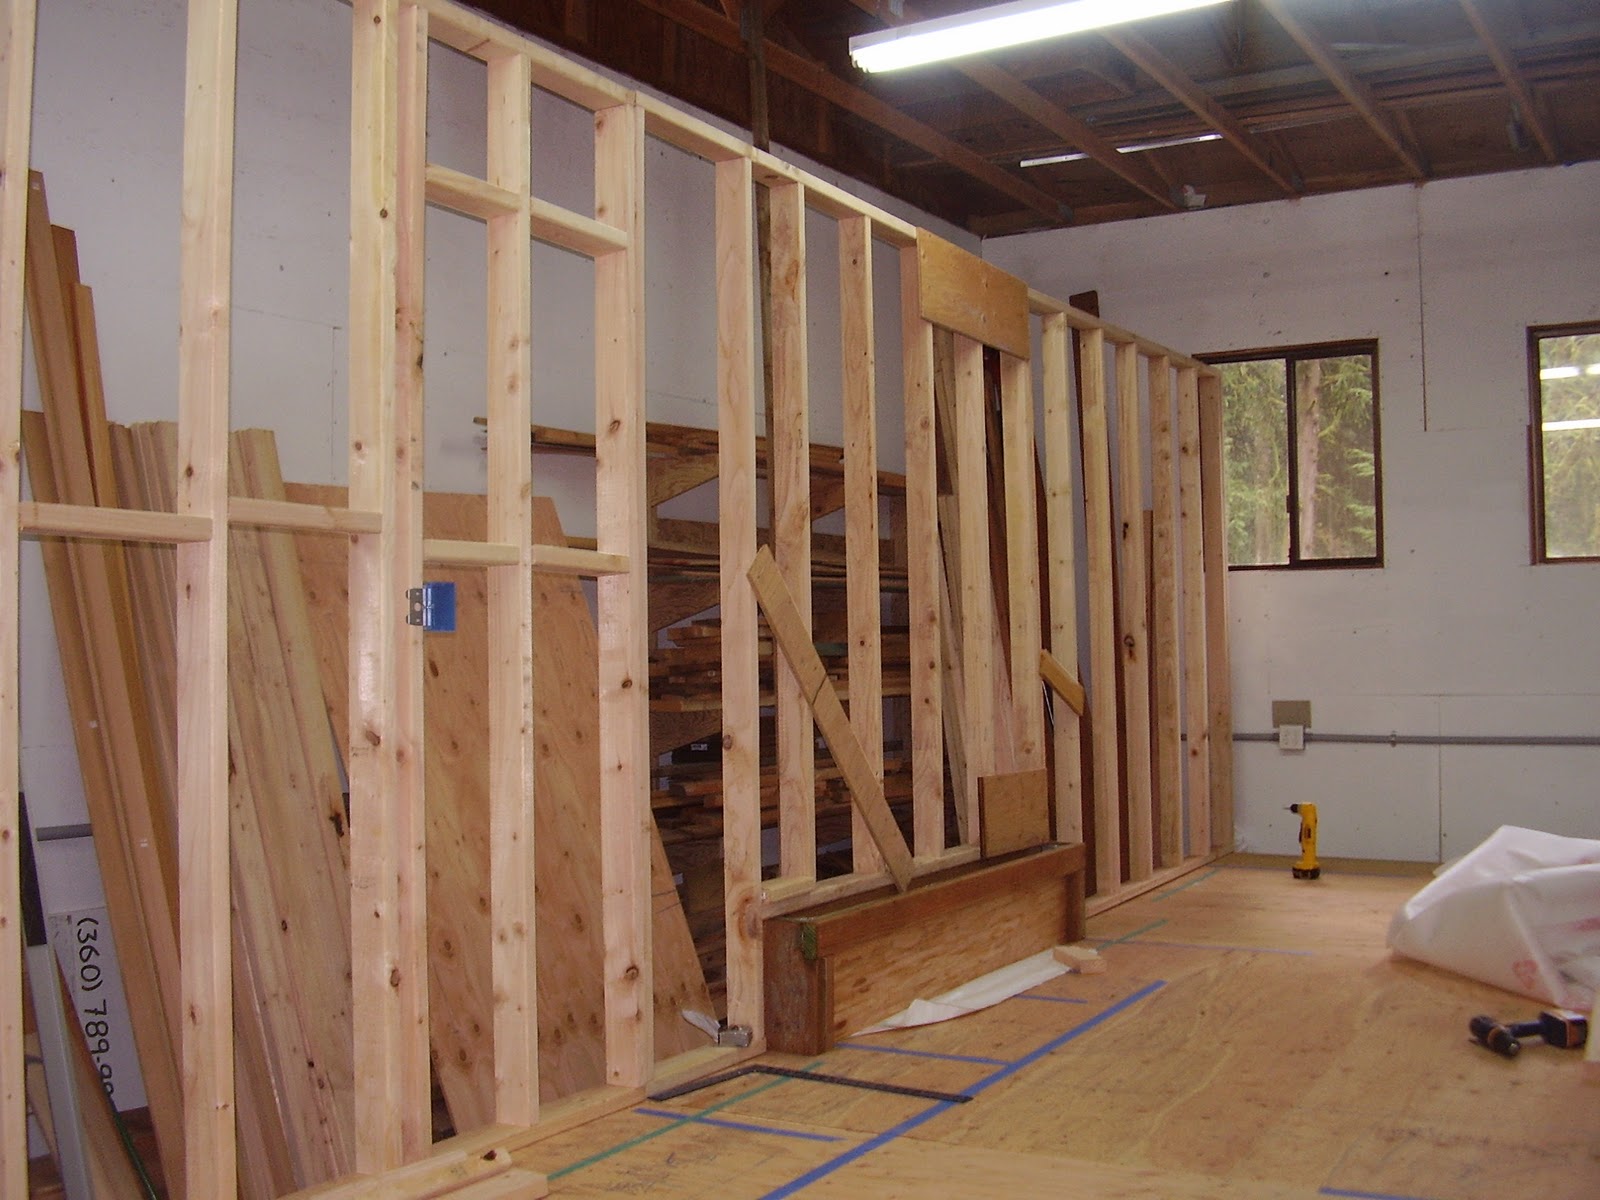
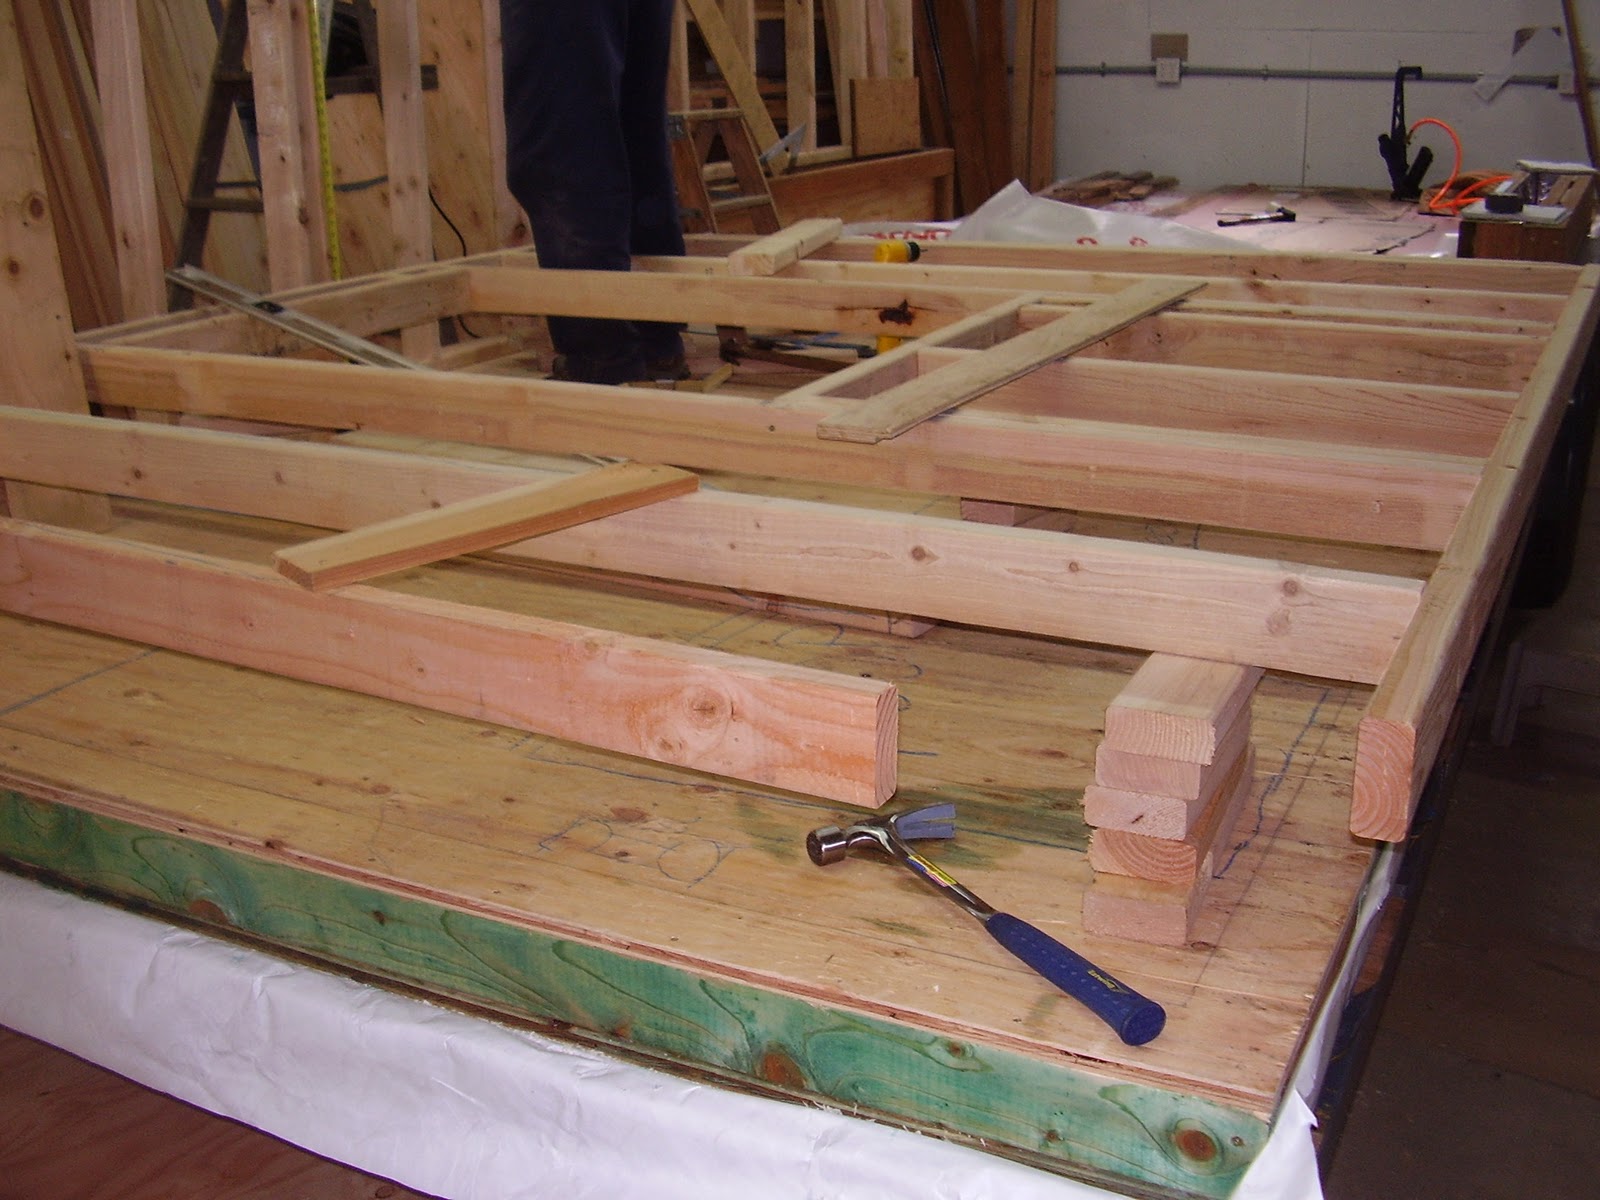
 We actually are framing in 8 foot sections with a full wall and then going back and framing in the windows and cutting out the 2x4 sections to open up the space.


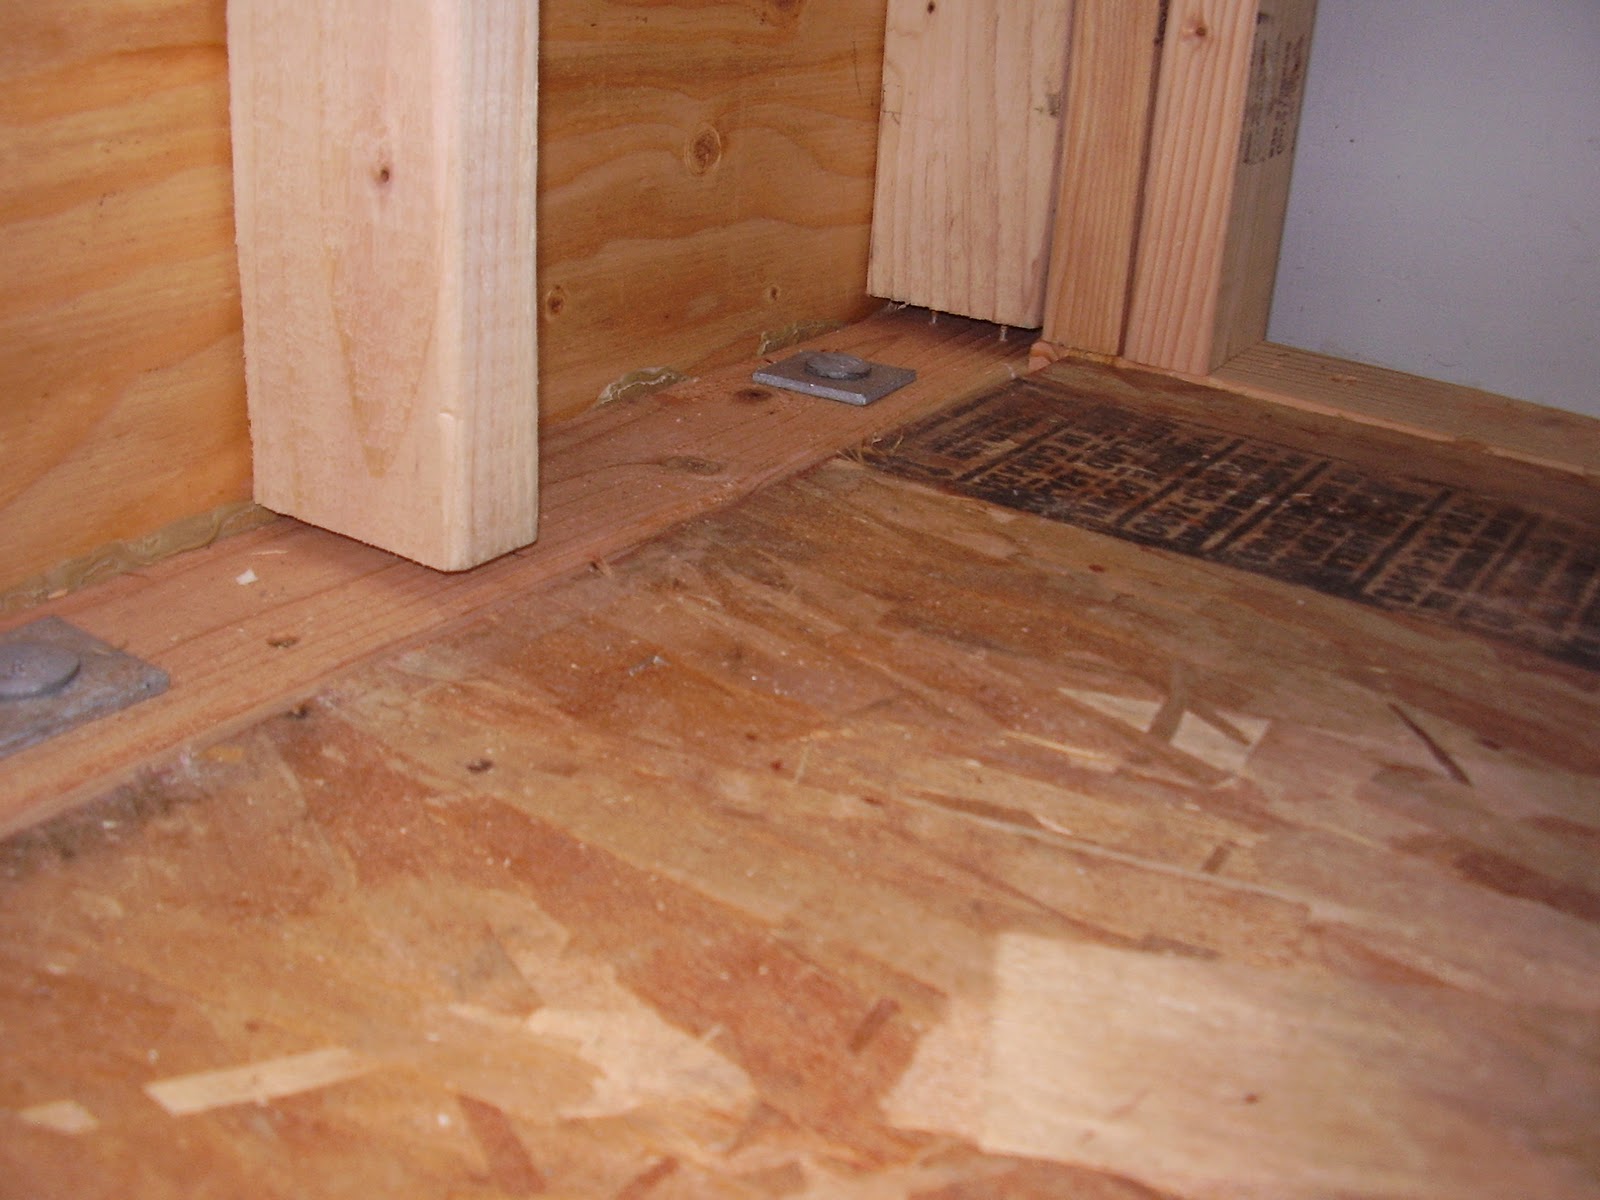
Once we build out the wall and make sure it fits and is appropriately sized. We then bring it back to the working end of the building and cut out the windows and do the detail framing. Once that is done then we take it back up to the wall and fasten it in. Once I have all the walls done, I will go in and bolt them to the trailer.

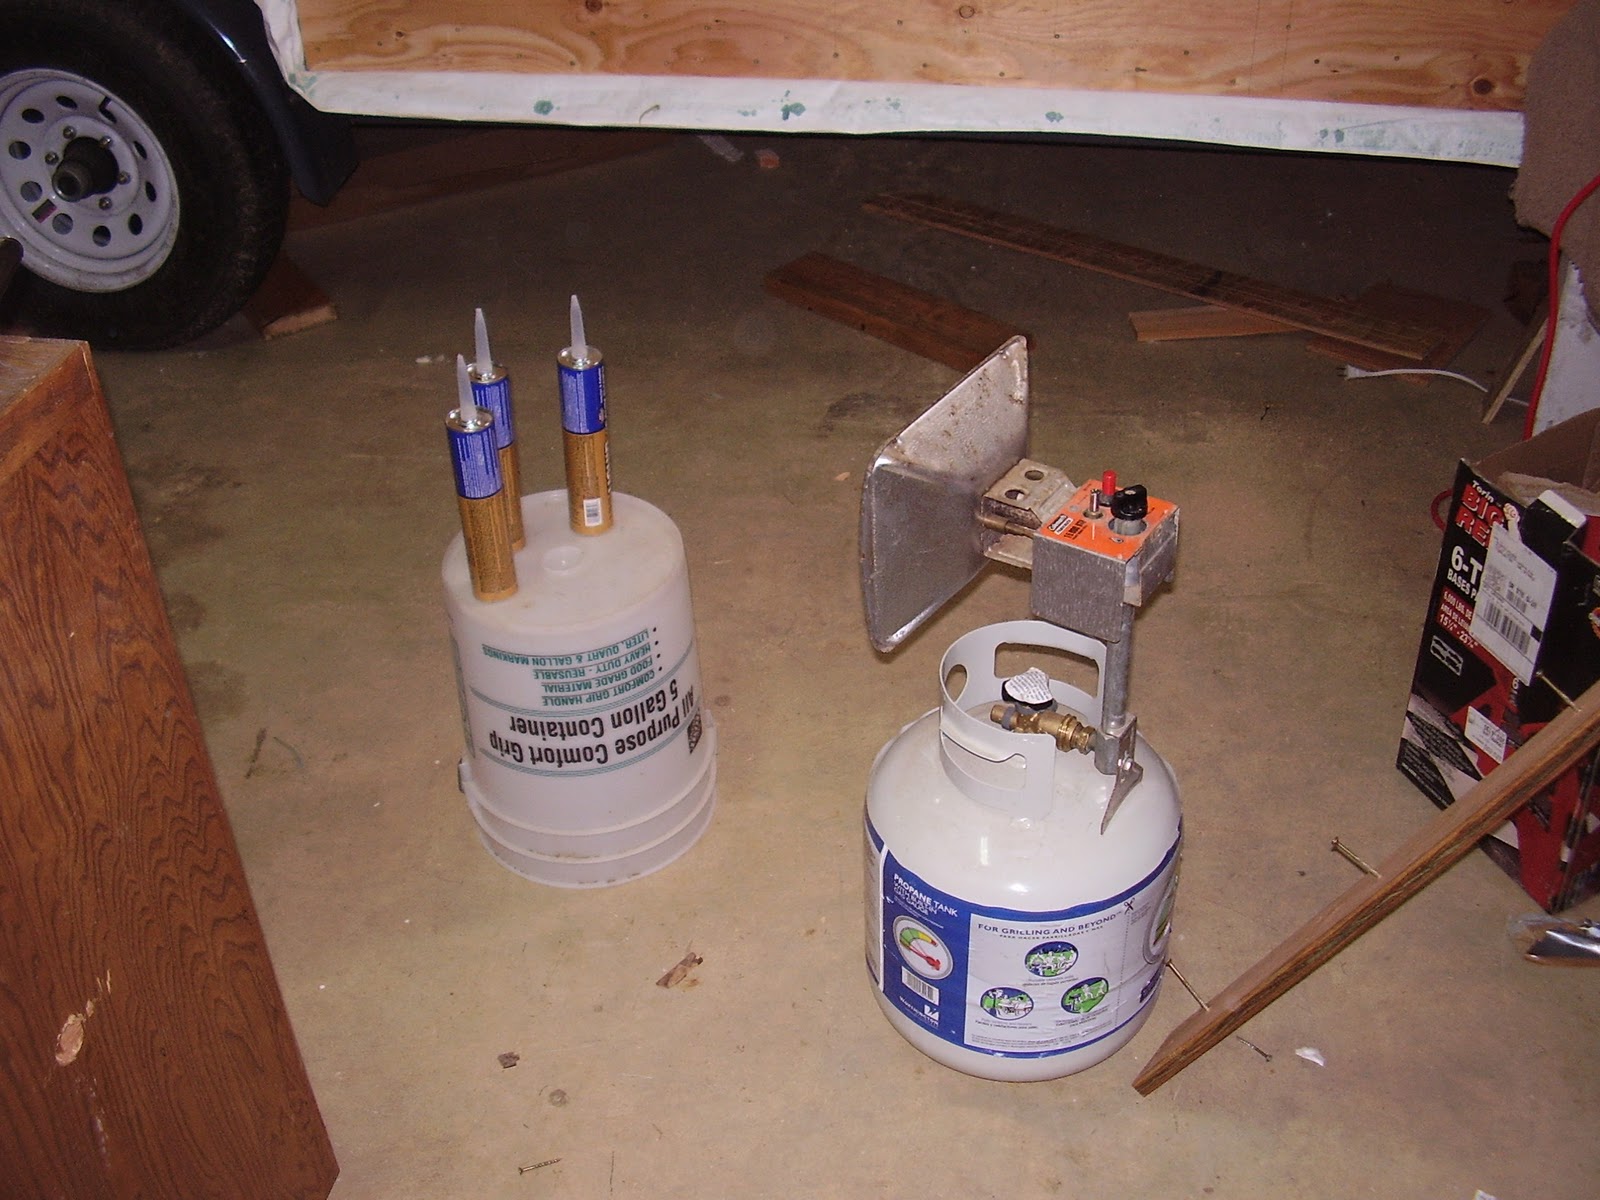
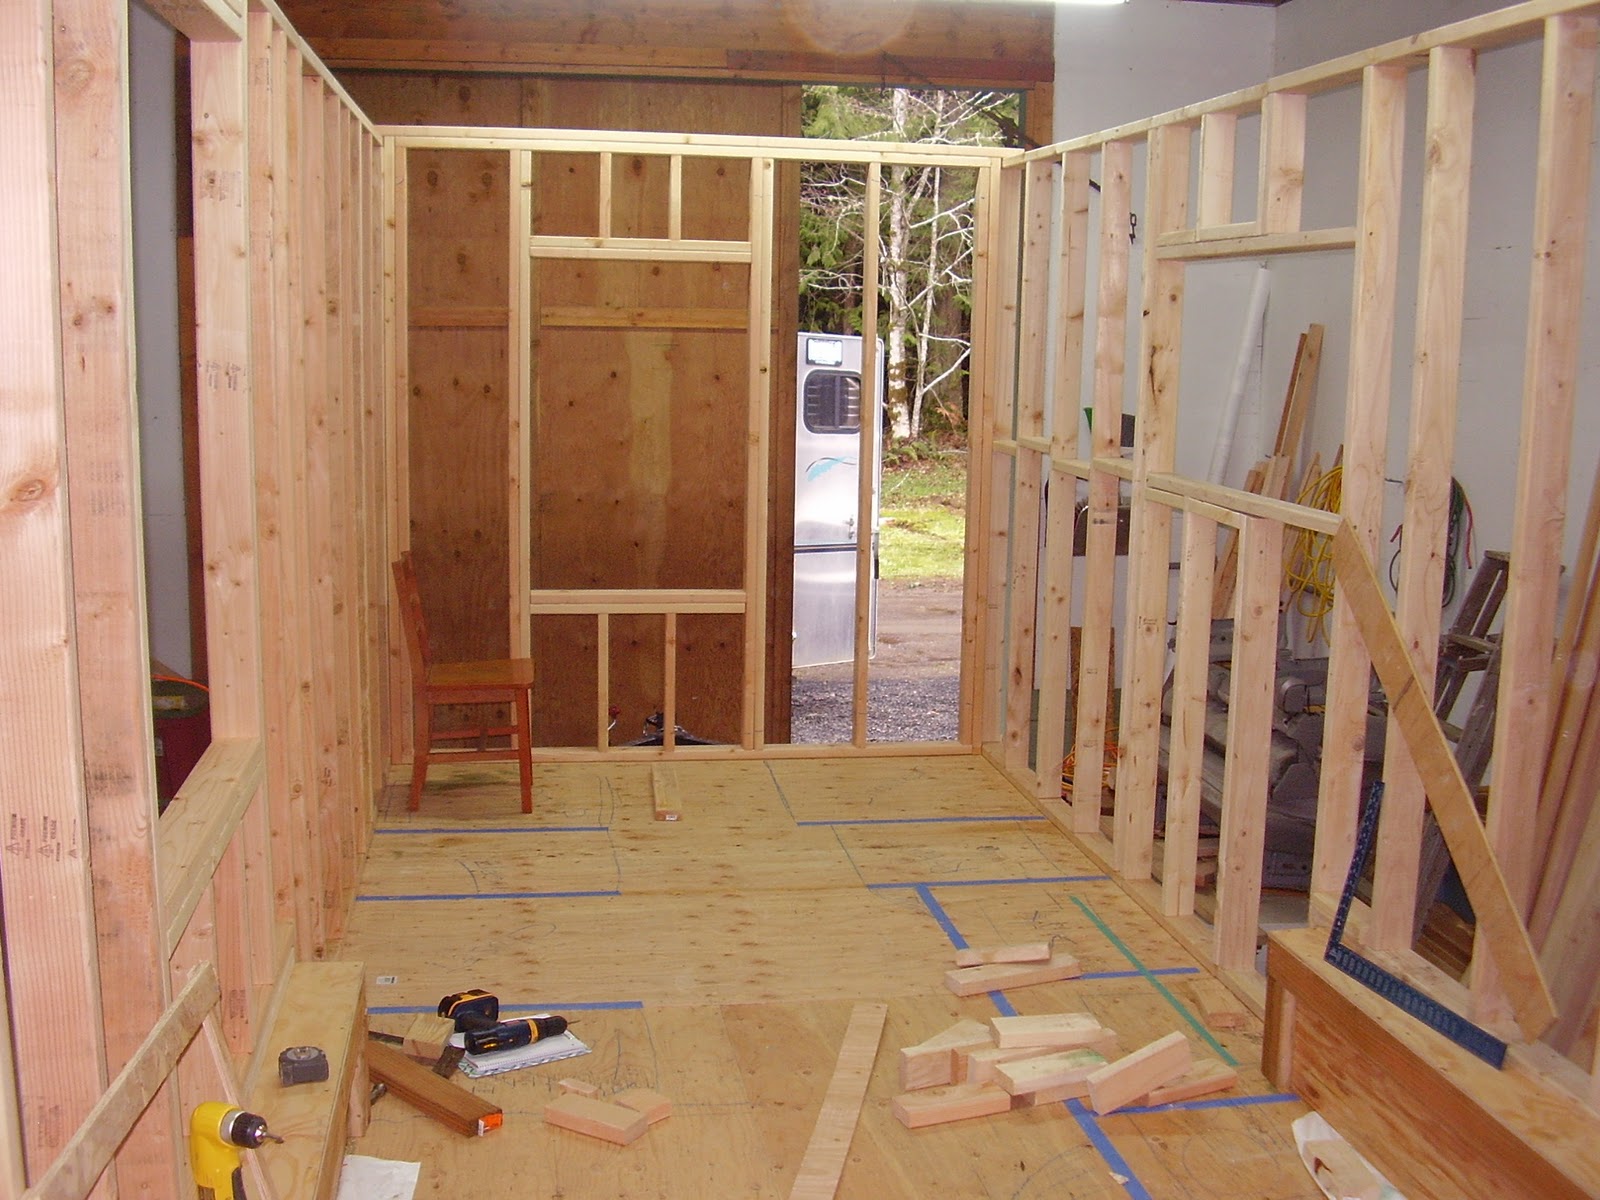
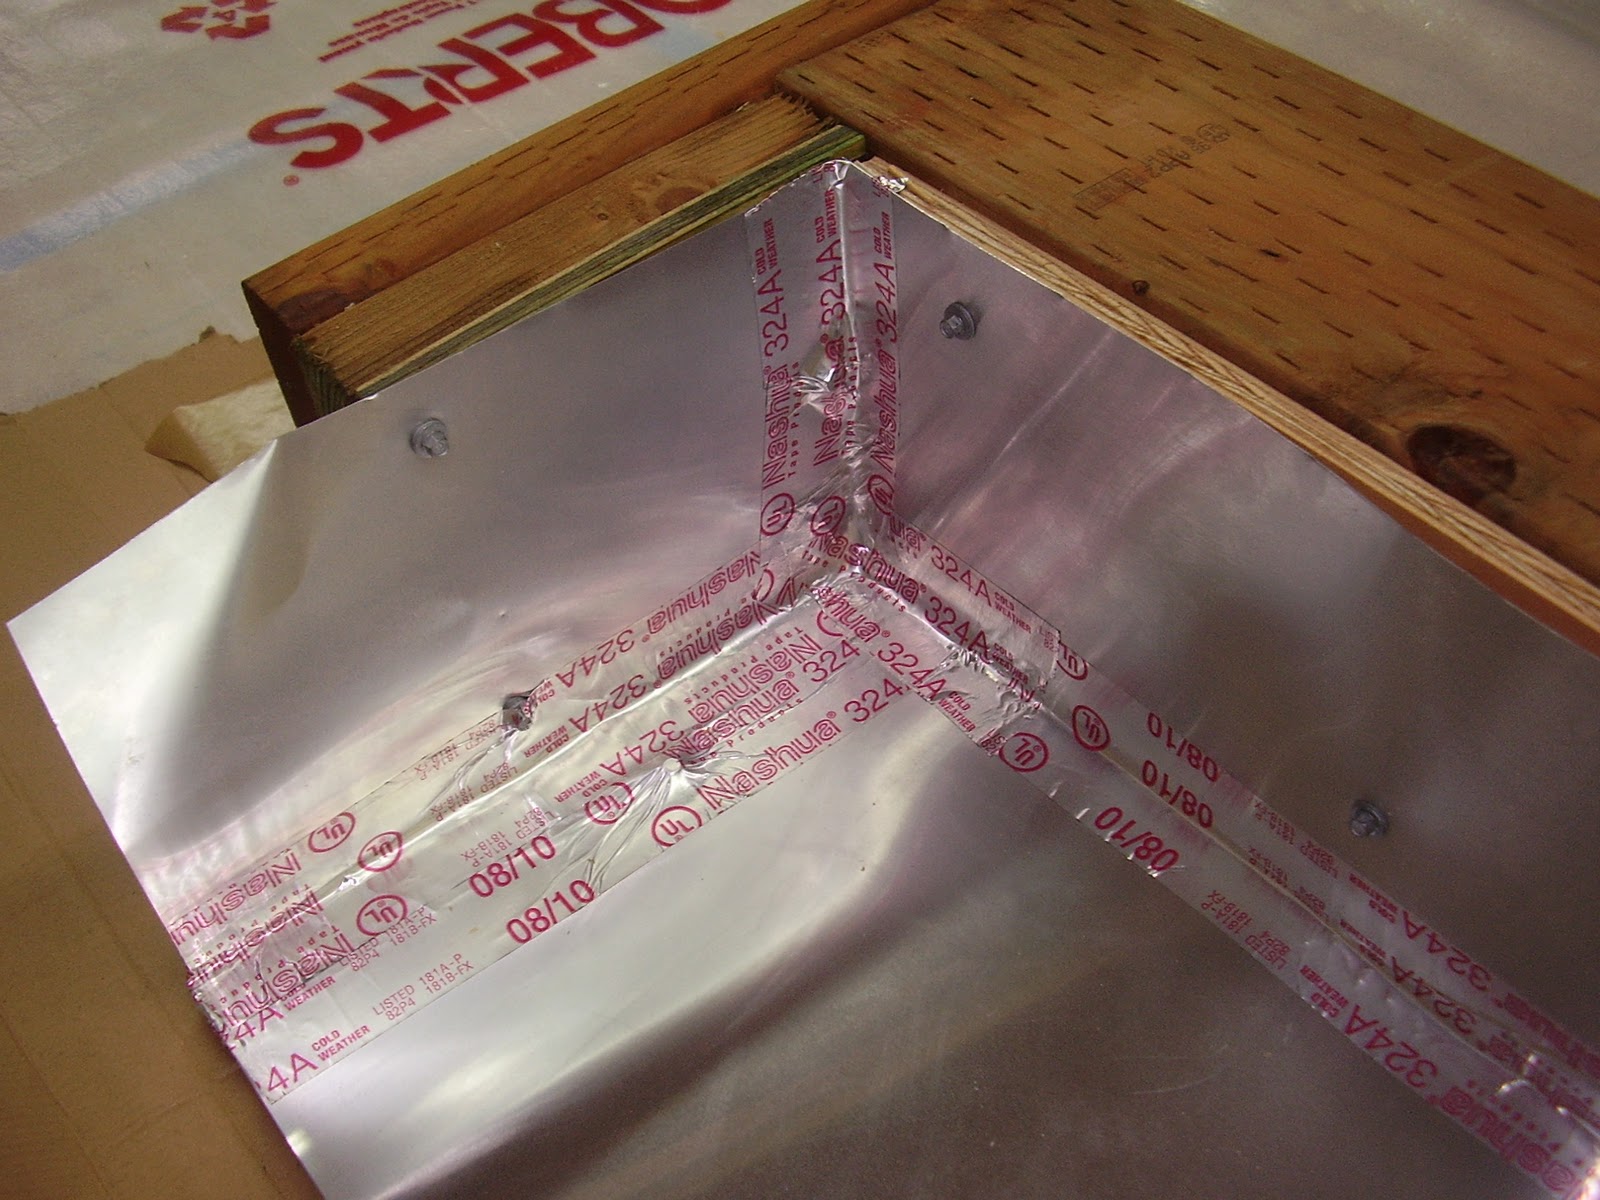
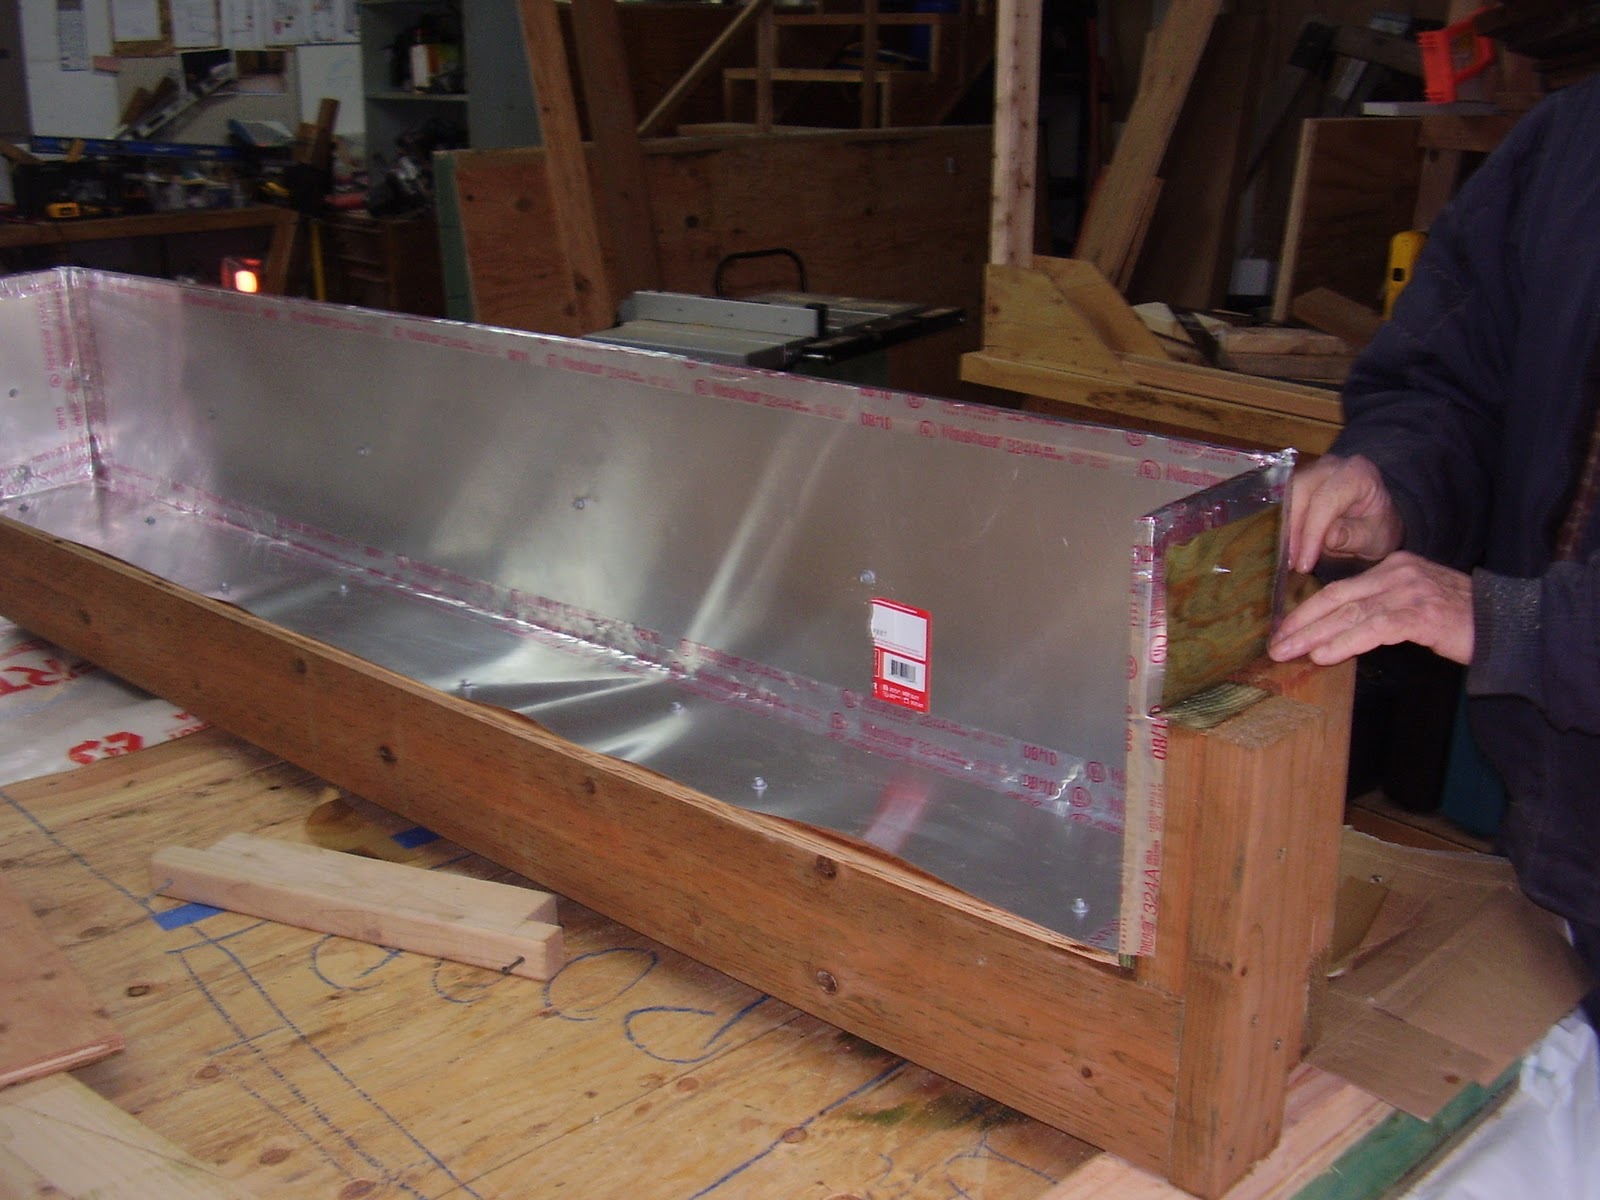
We also finished the wheel well boxes by lining the internal exposed parts with aluminum sheeting and taping them tight. We then moved them into place and screwed them into the floor foundation. Check that off the list those are done.


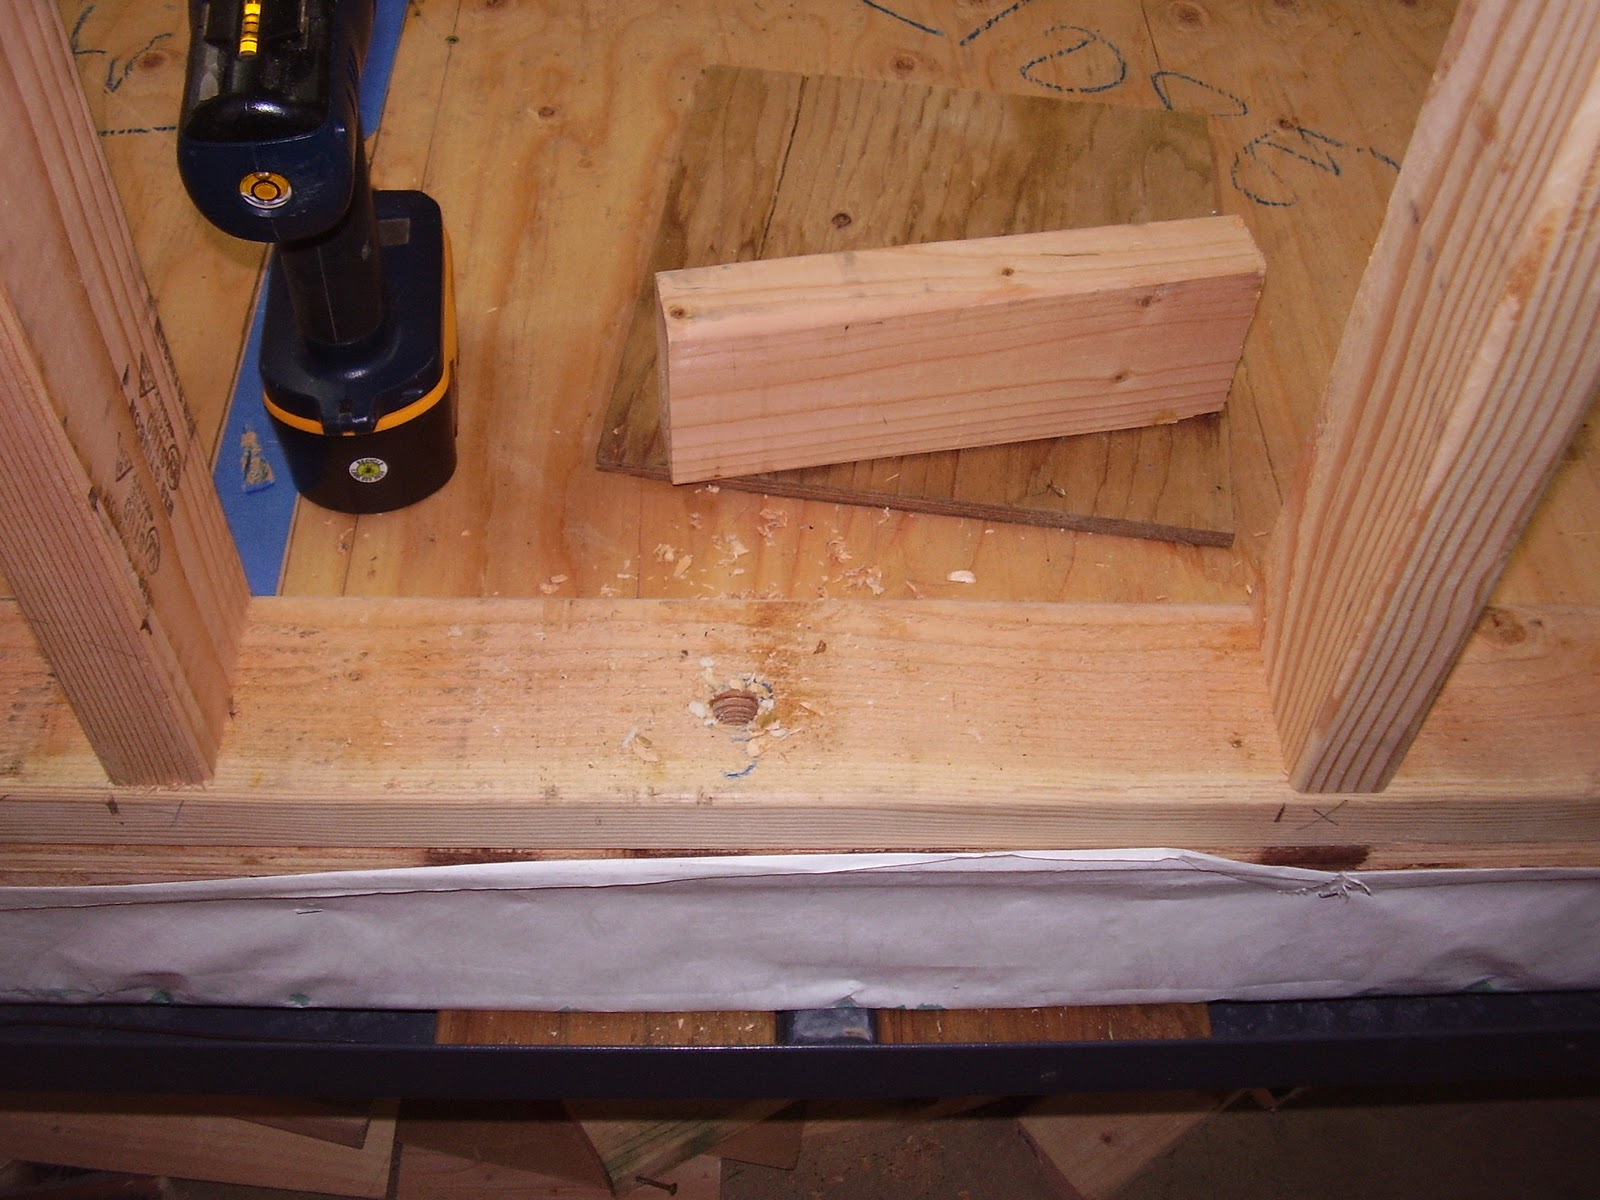
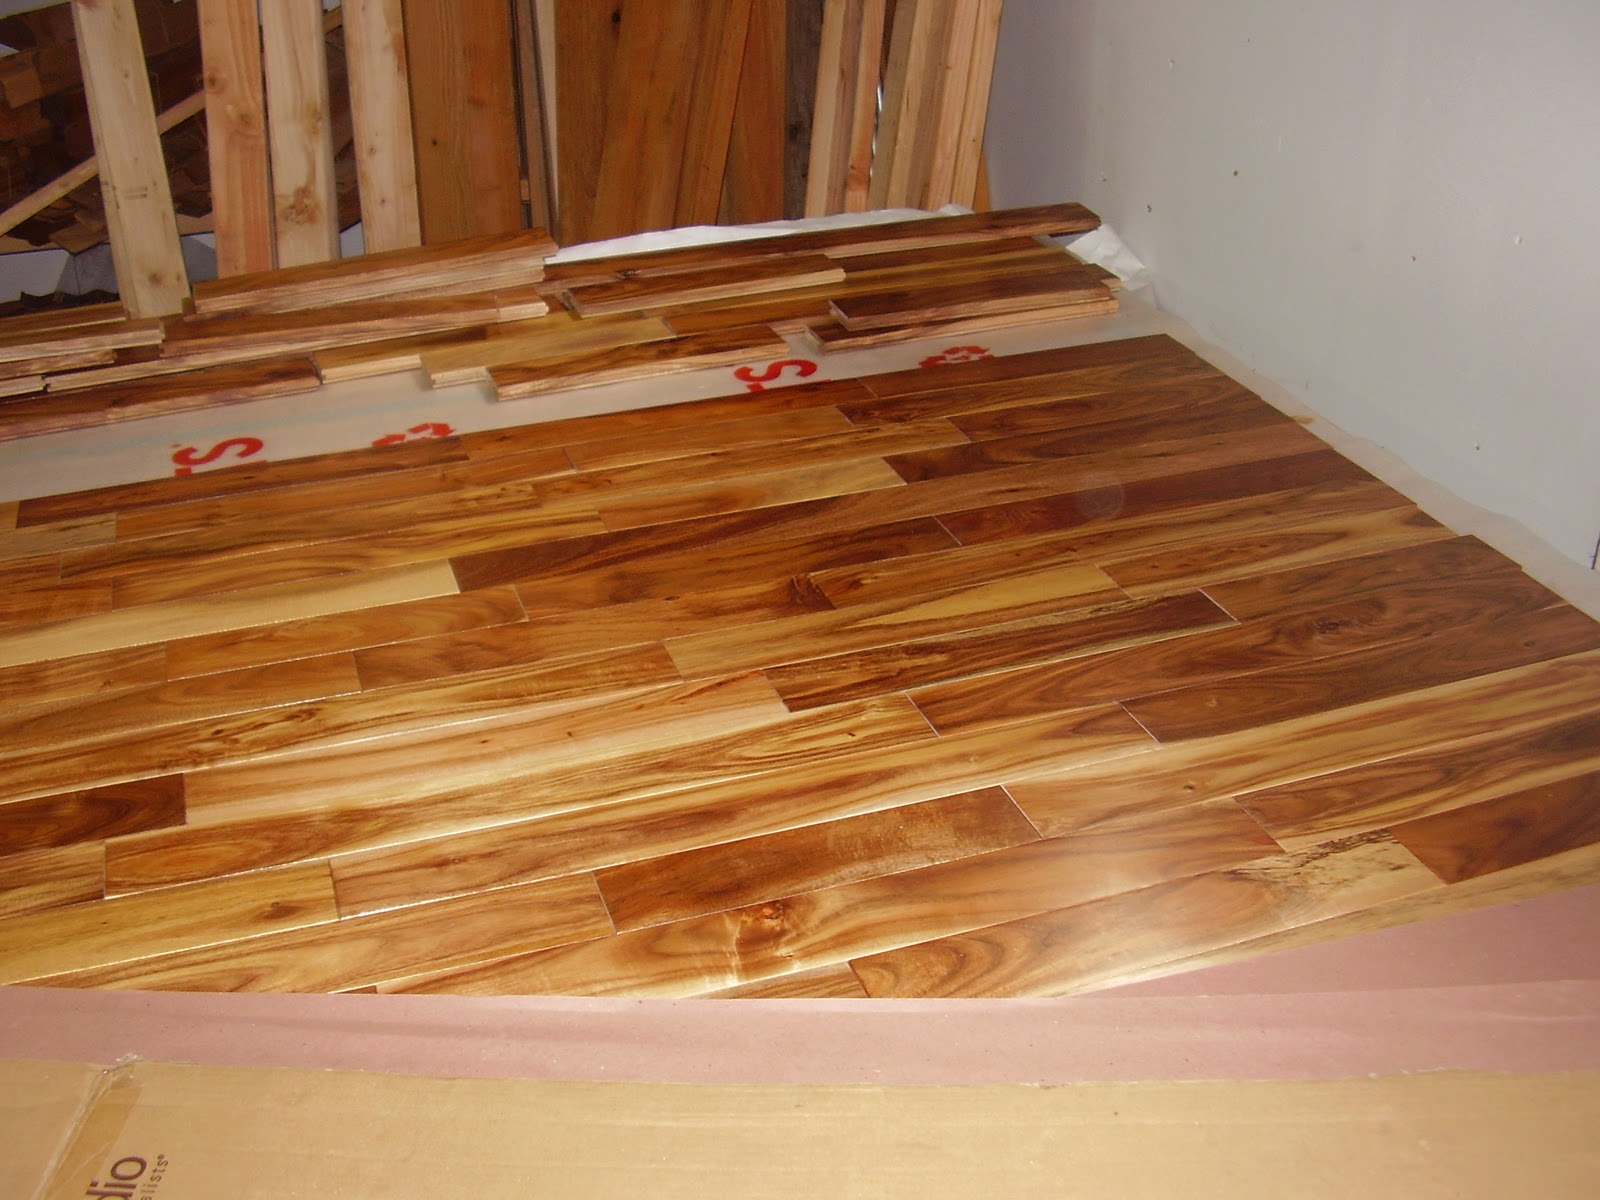
Lastly I almost finished the floor section on the back of the trailer, it will be done in about an hour of work next Saturday. My concern was having to deal with the left side wall and the nail gun. I wanted get in that section of wall prior to us putting that wall in place. All the rest of the hard wood flooring does not have a left side wall so I am good to go. I will probably wait till most of the finished before doing the rest of it. It will now get covered in Rosen paper and covered in card board and then I will put a couple of sheets of OSB plywood on it to protect it. It is turning out like I had hoped and it is not that much of a pain to put in...so far.
At this rate we might have 80% of the framing done next weekend and will probably start sheathing the walls. It is easy to see progress at this point. Every weekend it is something new. It will move a bit slower when it get's to the finish work. Bring it on!